November 15, 2026 · 8 min read
Cut List, CNC Output and Rendering in One Program
Drawing in one program, rendering in another, the cut list in a spreadsheet... CabinetWizard brings these and the quote into one project. We show where each output comes from.
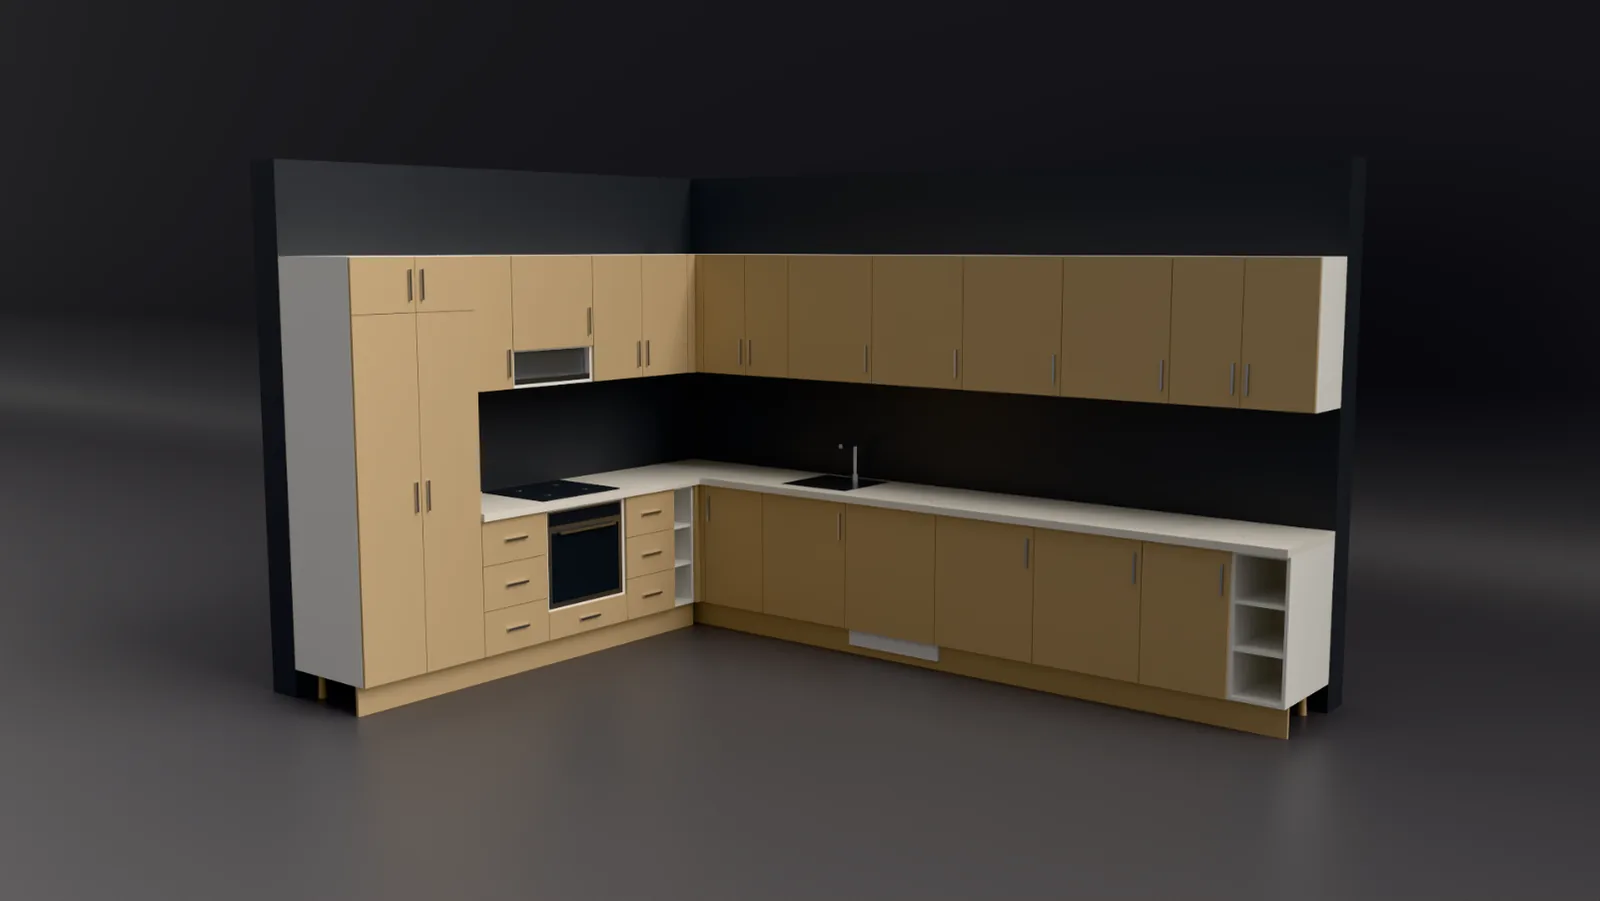
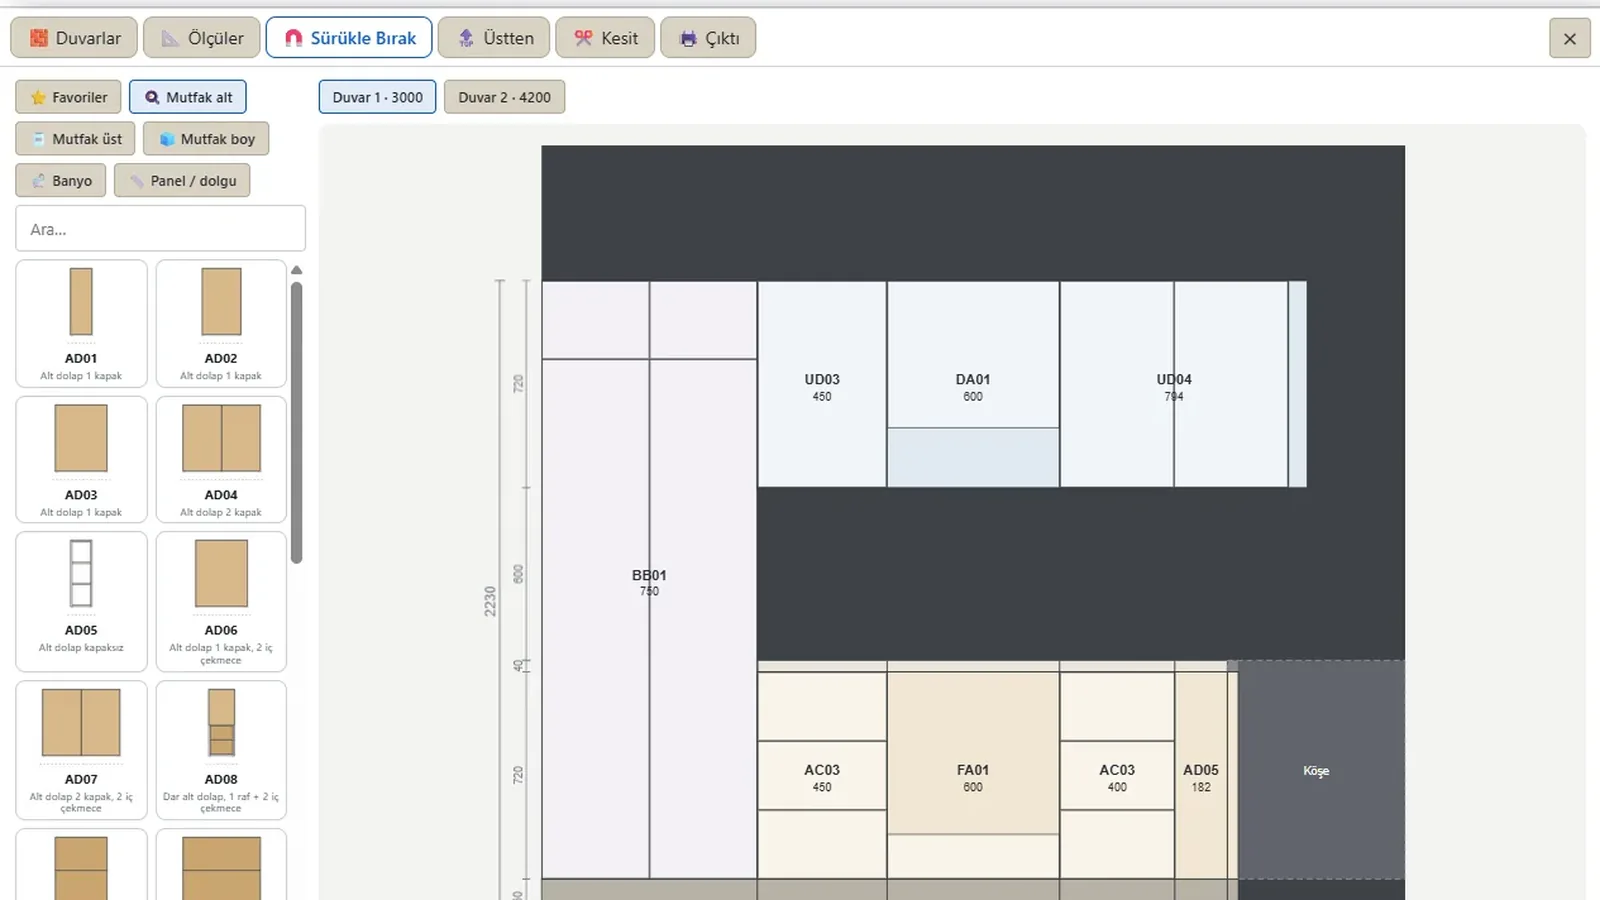
In many shops a kitchen job runs across three desks: the drawing is done in one program, the image for the customer is prepared in another, and the cut list and quote are typed into a spreadsheet by hand. Every hand-off means entering sizes again, and every re-entry opens a door for mistakes. In CabinetWizard all three come out of one project. In this article we look at how the cut list, the CNC output, the rendering and the quote are derived from the same data, and what that changes in a shop's day-to-day work.
Why one program?
The problem is not the programs themselves but the copying between them. When the customer sees the render and says "let's do the doors in oak instead of white, and make the unit beside the fridge 100 mm narrower", you have three corrections to make in three programs. Forget one and the image the customer approved no longer matches the parts cut in the shop.
In CabinetWizard a cabinet is built panel by panel and every panel is a real part. The render is drawn from those parts, the cut list is counted from those parts and the quote is calculated from those parts. Parametric cabinet design means exactly this here: when a cabinet's width changes, the parts are recalculated, and the render, the list and the quote all use the new size at once. Think of the program as a single cabinet design studio: design, production output, quote and rendering in one window.
Which formats does the cut list come in?
A cut list is the table that shows each part's name, quantity, cut size, material, banding and grain. The program's list is an automatic cut list: nobody counts parts, and when the design is finished, so is the list. In the 📋 Cut List window you choose the view you need:
- Detail: part, module, section, finished and cut size, grain, banding and drilling file.
- Size, Size-Band, Size-Band-Groove: lean lists for the panel saw or the edge bander.
- Profile: the fifth view; you decide what is shown by switching columns on and off.
You can filter by material code, toggle columns and export the list as Excel (CSV) or PDF. The colour-coded cut list groups carcass, shelves, drawers, doors and backs in separate colours, which helps when sorting parts after cutting. If you order doors from an outside supplier, Cut List › Door order gives you a separate list. Every non-sheet item (hinges, runners, handles, accessories) is listed in a hardware take-off CSV; the cut list and the hardware take-off together are the full bill of materials.
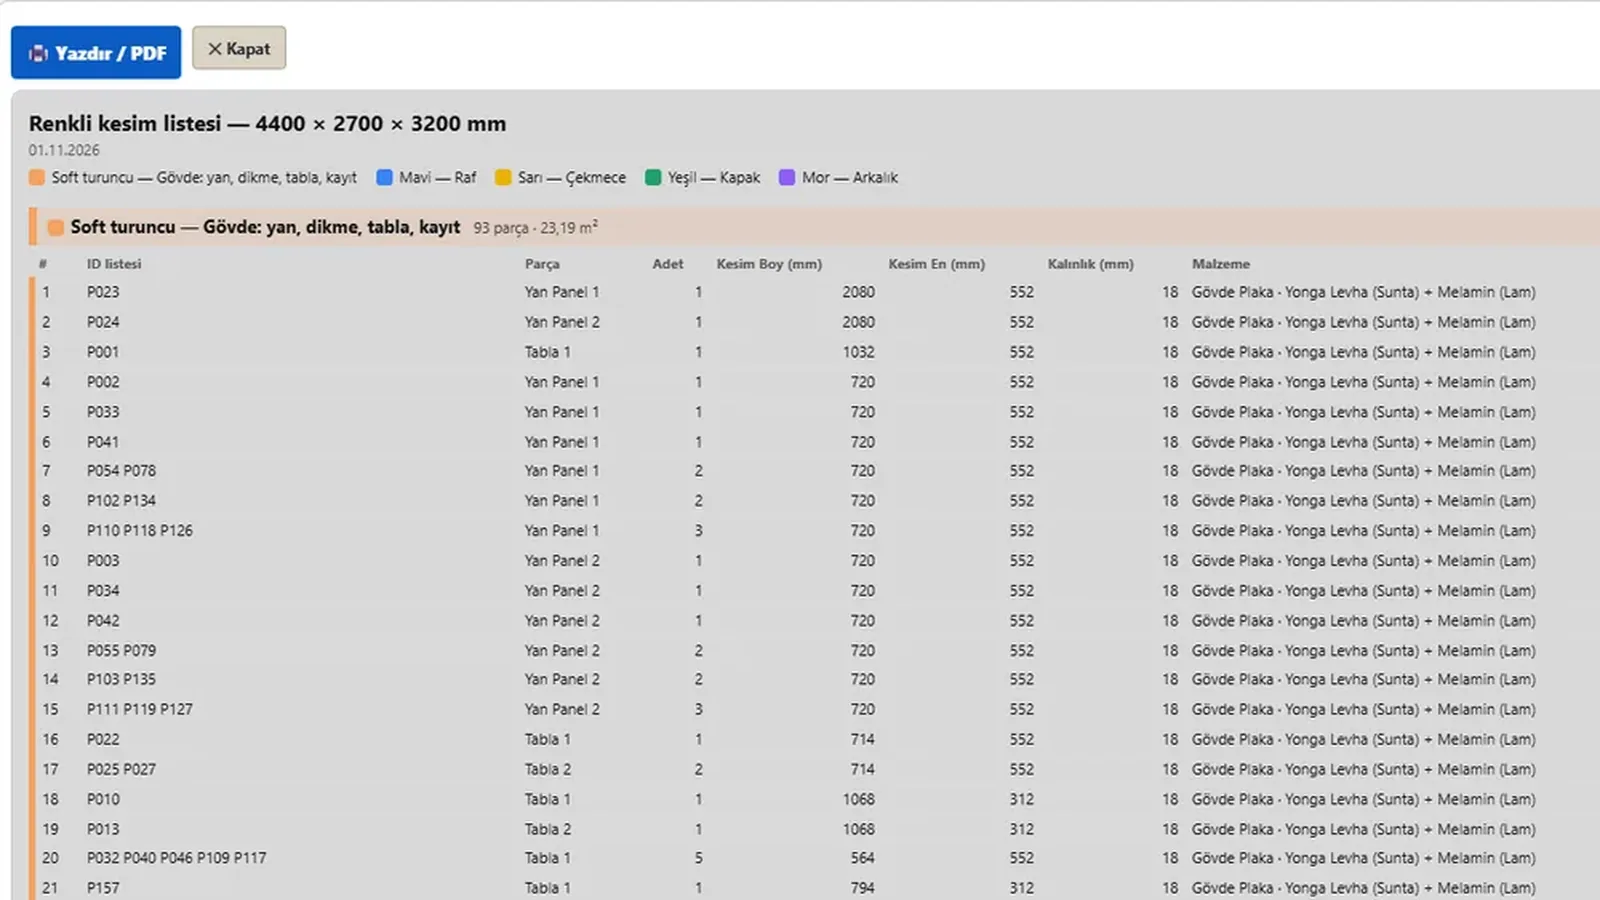
The list writes edge banding separately for all four edges and adjusts the cut size to the band thickness; grain direction has its own column. The program knows that membrane, lacquer, solid wood and compact board have no banding and leaves it off the list.
Does the CNC output come from the same list?
Yes. When you move to the CNC step, the same parts are placed on sheets. Sheet nesting, arranging parts on the sheet with the least waste, happens here, and the result appears as an automatic sheet layout: which part is on which sheet, the yield percentage and a waste summary. In the Cutting Plan window you enter sheet size, blade kerf, trim and number of sets, and export the sheet drawing as PNG or PDF.
The machine files download from here too: one NC (G-code) program per sheet, a combined DXF, per-part DXF files and a hole table. If your machine does not read G-code, this CNC/DXF output opens in your shop's CAM software. All of it is produced by CabinetWizard's own CNC cutting and machining system, the setup that builds toolpaths directly from the design and reads the generated code back to check it. We explain the order in which the NC program drills, pockets and cuts contours in our article on accurate CNC cutting.
In short, to "export to CNC" you do not copy the list from one place to another. Error-free CNC cutting, each part leaving the sheet exactly as drawn, comes from that single source. Part labels (50 × 30 or 70 × 40 mm, with a QR code) and module labels print from the same screen; the fitter recognises each part from its label and reads the assembly order from the module-by-module assembly sheets.
Do I need a separate program for rendering?
No; the render engine is inside the program. You press the Render button at the top: no export, no second program. The engine computes the scene, removes the noise and gives you an image ready for the customer. Render time depends on your graphics card.
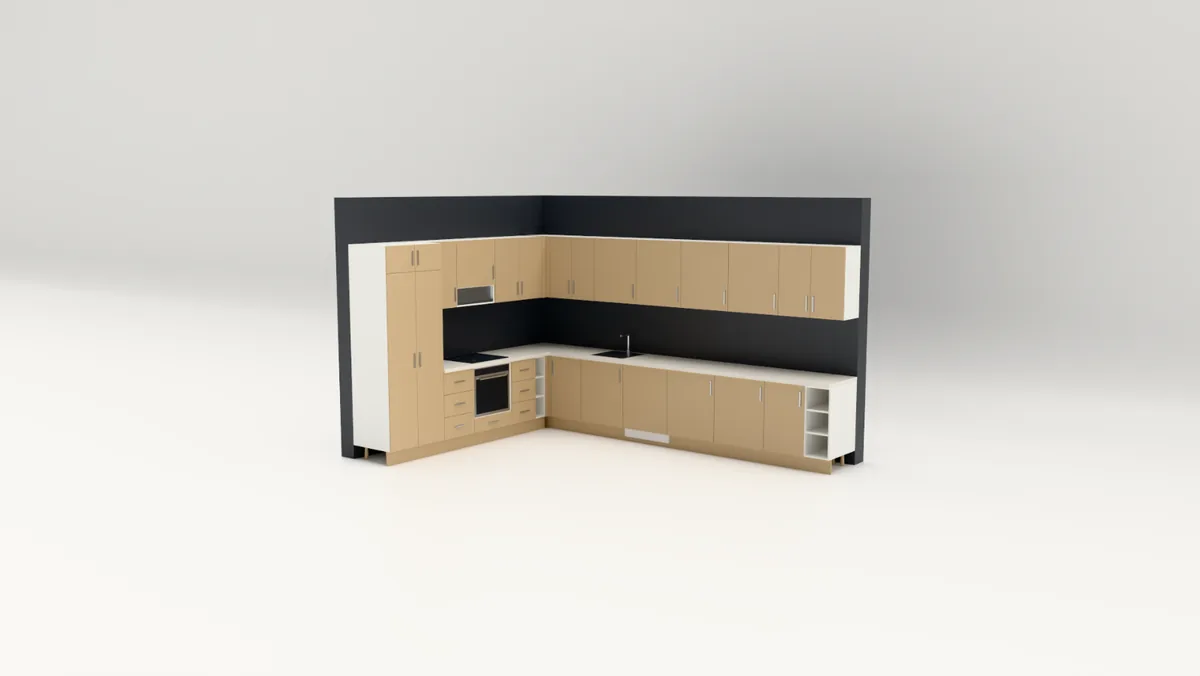
The rendering options are built around what a shop actually needs:
- Room render: the kitchen sits in a room at its real size; floor and worktop change with one click. For lighting you choose the weather (sunny, sunset, overcast, night).
- Dimensioned render: cabinet widths, overall width, height and levels are written over the image, so the customer sees the look and the sizes in one picture.
- Dimensioned sheet: an A4 page with a dimensioned drawing at the top, the render in the middle and a title block with company and customer details at the bottom.
- Catalogue: images from 5 angles.
The most important thing about rendering is that what the customer approves is what gets cut. In the render the customer compares door styles, choosing one of the program's 386 door designs, and sees the handle model and colour. Those choices go to the cut list and the quote at the same moment.
Where does the quoted price come from?
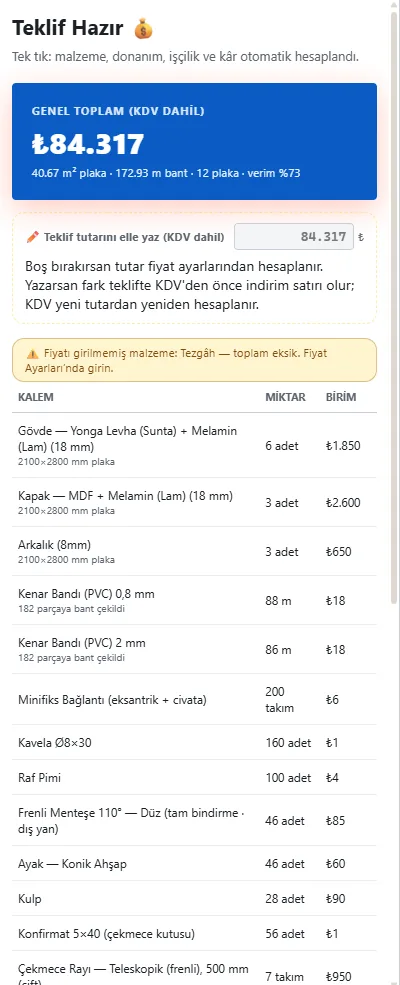
When the customer asks "how much will it be?", the answer is already inside the design. The quote is calculated from the panels you built: materials, hardware, labour and margin, line by line. You enter the unit price values yourself: in Price Settings a sheet price for each board and finish combination, and a per-m² price for surface treatments such as lacquer or membrane; you choose whether to price per part, per linear metre or per module. The program does not pull prices from the internet; prices vary by supplier and exchange rate, so the decision is yours.
Here a finish change, changing a cabinet's carcass or door material, changes the quote as well. The Model › Material & Finish choice feeds into the price, while Colour & Texture is appearance only and does not change it. You still have the last word: if you type the quote total by hand, the difference becomes a discount or surcharge line and VAT is recalculated. Add your logo and the customer details and print a PDF; the customer pack is prepared as one PDF ready to send on WhatsApp.
How does one change reach all three outputs?
A real-world example: a kitchen on a 2700 mm wall with a 600 mm sink base. After seeing the render, the customer wants the sink base at 800 mm and the doors in a different colour. In the program you change the sink module's width with its handle or by typing millimetres. Then, with the Property painter, you click to transfer the new door material from one cabinet to the others. Press Render again; the cut list, sheet layout and quote are already up to date.
We call this behaviour dynamic kitchen design: when one dimension changes, doors, parts, banding and the total update together. Parametric dimensions, part sizes derived from the cabinet's size, are the foundation. Planning where cabinets place themselves around the door swing, the services and the columns is what we call smart kitchen design; we cover it in our article on making a kitchen design CNC-ready.
The settings screens are part of the same chain. Production Settings works as a dynamic settings page: when you change Net or Gross cut size, band thicknesses, sheet size or label size, the outputs are produced with those values, and the screen shows how many settings differ from the defaults.
Who is this approach for?
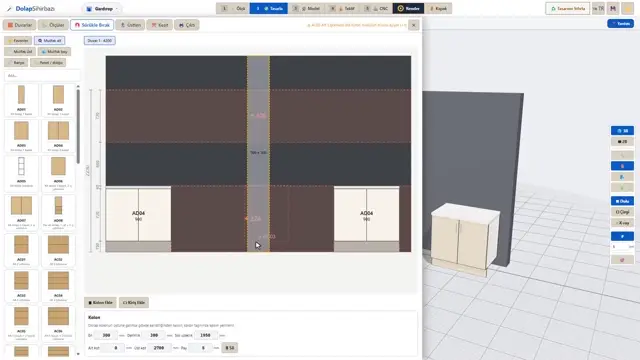
Picture a shop that builds both kitchens and wardrobes. For kitchen cabinetry design it uses the wizard and drag-and-drop modules, ready base, wall and tall units dropped from a palette onto the wall; for wardrobes it builds the cabinet panel by panel. In both cases the outputs are the same: list, layout, NC, labels, render and quote. For a shop doing CNC cabinetmaking, that means the same routine on every job.
Fast cabinet design here is not just drawing speed; it is the work after the drawing happening by itself. That is exactly what time-saving cabinet design means: you type a size once, and the list, plan, image and quote for every cabinet follow from it. As we say on our site, you can go from design to the CNC cutting file in 15 minutes. For the current price and launch terms, see the pricing section.
Frequently asked questions
Do I need a powerful graphics card for rendering?
No separate engine is needed; the render engine is inside the program. Render time varies with your graphics card.
What is open in the demo?
In the free 5-day demo, design, 3D, rendering, project saving and GLB are open. The cut list, cutting plan, NC, DXF, quote, labels and assembly sheets are in the full version.
Can I open the cut list in Excel?
Yes. The cut list downloads as CSV and opens in Excel; the same list is also available as a PDF.
How do I send the quote to the customer?
You export the quote as a PDF; the customer pack is prepared as one PDF to send on WhatsApp.
By Ufuk Şen, developer of CabinetWizard