November 15, 2026 · 13 min read
Columns and Beams Are No Problem for Your Cabinets: Automatic Notching
A column in the wall or a beam under the ceiling no longer means redrawing a cabinet by hand. CabinetWizard notches the carcass itself and carries the notch through to the cut list and CNC output.
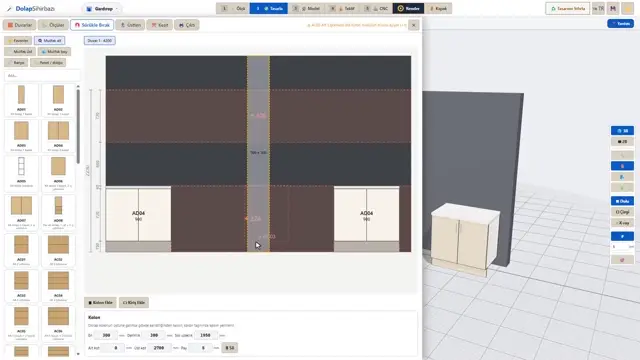
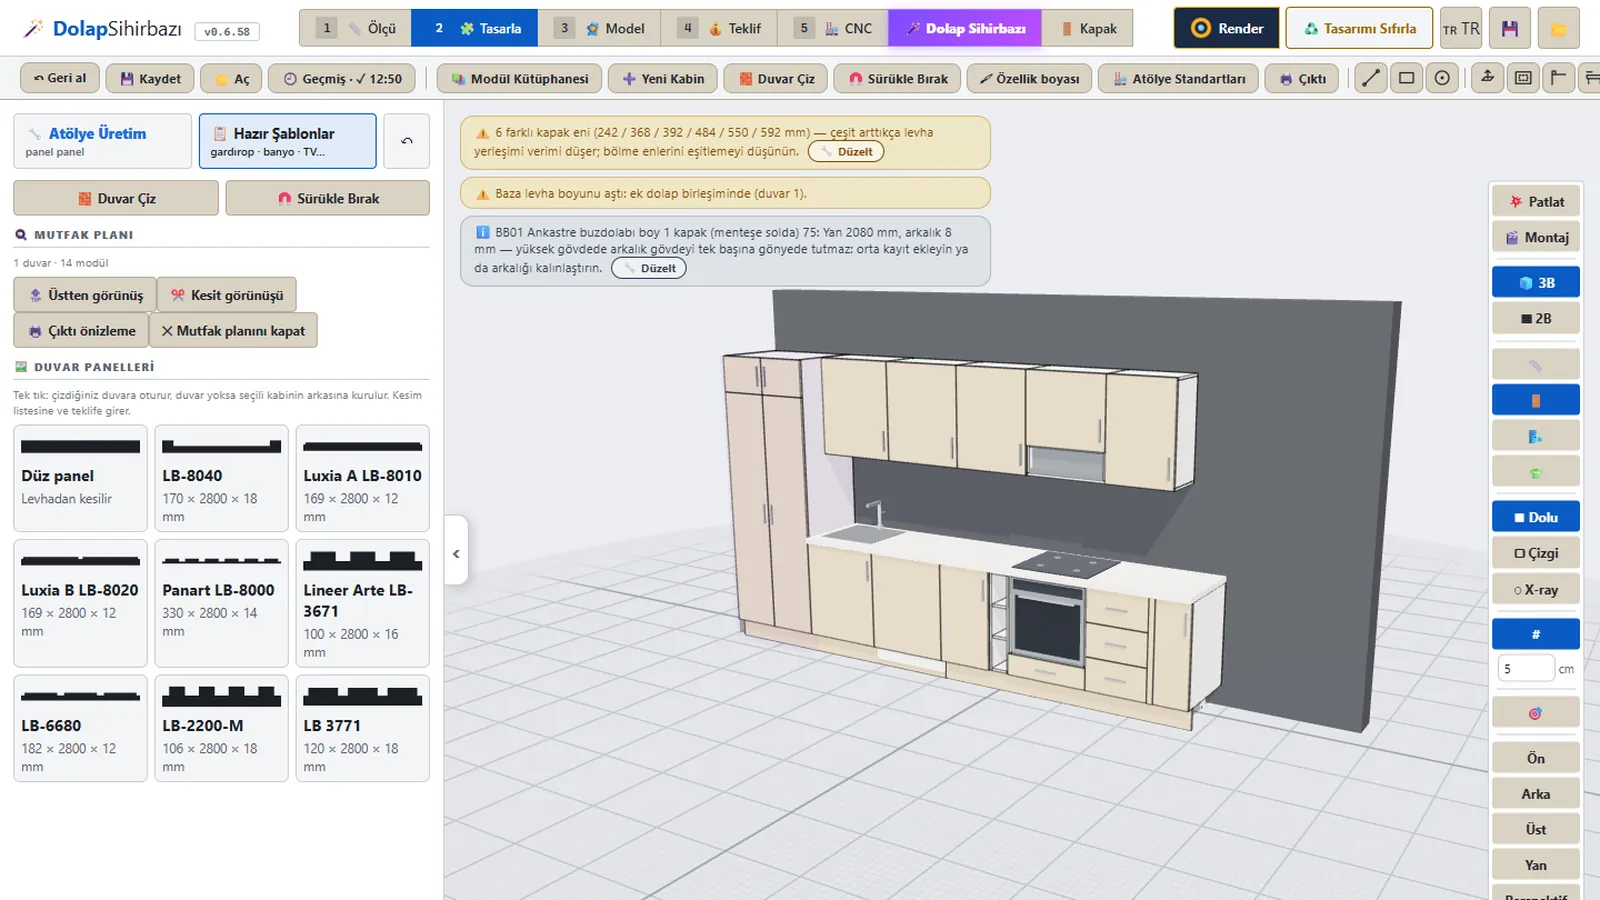
You measure the kitchen: a clean 10'6" wall, nice. Then, about 6 feet in from the corner, there is a 12" by 16" column, and on the window side a beam drops 10 inches from the ceiling. Someone writes it in red in the site notebook, someone else redraws that cabinet back at the shop, and the side panel gets measured three times before it goes near the panel saw. CabinetWizard turns this around: you enter the column and the beam with their sizes, the carcass is notched in place, and the notch travels on its own into the cut list, the DXF and the NC file. In this article we walk through how that works, when a cabinet is shortened instead of notched, how the hood flue gets past a beam, and how to check the result from the inside with X-ray.
Why do columns and beams eat so much time on a job?
Because every column is an exception. A kitchen drawn with standard sizes looks tidy; once a column shows up, the side panel, bottom, shelf and back of one cabinet all change at once. In a shop that works by hand, that change usually happens at the last minute, right before cutting, and that is exactly where mistakes appear: the notch is on the wrong side, the shelf kept its old length, the back no longer fits. On install day the column wants to be inside the cabinet, not next to it.
We solve this at the calculation level, not the drawing level. That is what parametric cabinet design really means: a cabinet is not a picture but a set of parts whose sizes depend on each other. When a column appears, the notch in the side panel, the shorter shelf and the cut-out in the back all come from the same calculation, so you cannot change one and forget another. That is time-saving cabinet design in the most literal sense: hours you no longer spend double-checking at the cutting table.
How do you enter a column or a beam?
There are three ways; use whichever suits you.
- In the kitchen plan: type the column or beam with width, depth, left distance and bottom and top level. In the Draw Wall panel you also set beam drop and beam projection for each wall.
- In the 🪄 CabinetWizard wizard: the second of its five questions is "Columns, beams, doors". Add a column or a short beam, drag it with the mouse or type millimetres; the arrow keys nudge 10 mm, Shift makes it 100 mm, Delete removes it. Corner columns for L and U kitchens are set here too.
- Directly in 3D: draw a rectangle on the wall face with the drawing tools and push-pull it out; it becomes a column or a beam and the cabinets re-arrange.
Whichever way you choose, the result is the same plan parameter. Moving the column 2 inches to the right or increasing the beam drop is just changing a number, and every parametric dimension change recalculates the cabinets tied to it. If you mis-measured on site, you fix the number, not the drawing.
What exactly happens when a cabinet touches a column?
The rule is simple: the cabinet does not run away, it gets notched. When a column is added, moved or resized, the cabinet under it is solved in place. The carcass is cut around the column, notch panels are added around it, the door stays where it was and the worktop wraps around the column.
A concrete case: on that wall, the column sits about 6 feet from the left, right where a 24" drawer base lands. The program will:
- Notch the carcass by the column's footprint, so the side panel and the bottom become notched parts.
- Turn the cabinet into a door base of the same width if the drawers no longer fit in front of the column, because a drawer box cannot run in a notched carcass.
- Make the carcass shallower in front of the column if the column fills the cabinet's depth.
Sliding the cabinet sideways (pushing it against the column or narrowing it) only happens where cutting is impossible: appliance modules like a dishwasher or an oven, or a wall unit whose full depth is taken by the column. If no solution can be built, the module stays red and 🛠 Column solutions leaves the decision to you. You can also switch notching off for a single module if you prefer to close the column with a filler. And when the structure changes, cabinets are never allowed to overlap: if there is no room, nothing is done.
This is what we mean by smart kitchen planning: a layout where cabinets place themselves according to the door swing, the plumbing and the columns. No cabinet goes where a door swings, and under a sloped attic ceiling wall and tall units are notched or shortened. The rules a seasoned installer keeps in his head are written into the program.
When is a wall cabinet notched under a beam, and when is it shortened?
A beam is trickier than a column because it comes down onto the top of wall units, top cabinets and tall units. The beam rule is:
| Situation | What the program does |
|---|---|
| At least 150 mm of cabinet depth remains in front of the beam | The carcass wraps the beam, i.e. it is notched |
| No room in front, but at least 250 mm below the beam | The wall cabinet is shortened under the beam |
| Neither | The cabinet is not built and a warning appears |
| Beam projection under 5 mm | Ignored |
If less than 80 mm of carcass would remain below the notch, the carcass stops in front of the beam instead. When a column or beam that cannot be notched covers the top of a wall, top or tall unit, the carcass is shortened below it, keeping at least 250 mm (150 mm for top cabinets), and the card shows a "short carcass under the column" note. Appliance modules (fridge, tall oven, hood) follow their own rule. A fridge housing is notched under a beam like the wall cabinets, and its top lines up with them.
What if the beam ends above the cabinet?
If the beam drops in and ends inside the cabinet, tight against the side, only the outer end panel is notched, by the beam plus a 5 mm allowance. No shelf or filler thickness shows in the notch; the shell around the column starts from the inside face of the side panel, so anyone looking from outside sees a clean end. A beam that runs through the middle follows the normal notch rule.
What about the open end of the kitchen?
On a wall with a beam, the wall, top or tall unit at the open end of the run gets a full-height end panel: from the door face to the wall, from the bottom of the cabinet to the ceiling. If the beam continues, this panel is notched from the back. In the cut list, CSV and DXF, notched and plain end panels are separate lines, so they never get mixed up.
And a column in the corner?
When a column sits in the corner, the blind corner module takes it into its blind zone, top and bottom, and is notched there; the front of the column is hidden behind the blind door. If a gap of 2 to 150 mm is left between two cabinets or between a cabinet and the column, a Filler Panel made from the door material, flush with the door faces, closes it, and that panel goes into the cut list and the quote.
What if the hood flue lands on a beam?
This happens all the time: the plumbing fixes the cooktop, the hood sits above it, and the flue runs straight into the beam. A quick hand drawing usually just pushes the flue through the beam, which in real life means cutting into the structure. CabinetWizard never cuts or carves the beam. The flue goes straight up to the underside of the beam, makes an S with two 45° elbows in front of it, and continues up to the ceiling in front of the beam. The offset is the beam projection plus 20 mm. With a beam running perpendicular to the wall, the flue passes beside it; at a full-height column it goes straight up in front without bending. This is a calculation, not a saved shape: move the beam and the S rebuilds itself. No top cabinet is stacked above a chimney hood either.
Checking the notch from inside with X-ray
The client asks, "Will the column end up inside the cabinet?" and you want to give a straight answer. The ◌ X-ray button in the view bar makes the carcass transparent so you can see where the notch lands and where the shelf gets shorter. With X-ray on, holes in the parts also appear as rings: face holes in red, edge connector holes in blue. It is the fastest way to check by eye, before anything goes to the CNC router, whether a column sits on top of a cam fitting. The rings exist on screen only; they do not go into renders or GLB files.
How does the notch get to the cutting stage and the CNC?
The notch you see on screen is not a decoration line; it is the part's own contour. So the automatic cut list (the list that pulls every part's size, material and banding straight from the project) shows the notched side panel on its own line. The cut list cards give you the part count, panel square metres and banding length right away. The Cutting Plan draws an automatic sheet layout, and its sheet nesting (arranging parts on the sheet with the least waste) places the notched part with its real outline, shown in the same orientation as on the machine table.
When you export to CNC, the notch goes into the NC plan and the G-code, and it is in the per-part DXF as a contour. That is the job of CabinetWizard's own CNC cutting and machining system: sheet cutting, drilling and machining paths are calculated from the same project, and the read-back check in the Machine Profile re-reads the generated code and refuses to write a file if it finds an error. You can also open the CNC/DXF output in whatever CAM software your shop already runs. The result is a workflow that gets you close to error-free CNC cutting even on a wall full of columns, and because this is where shops doing CNC cabinetmaking lose the most time, it is also where you feel the difference most.
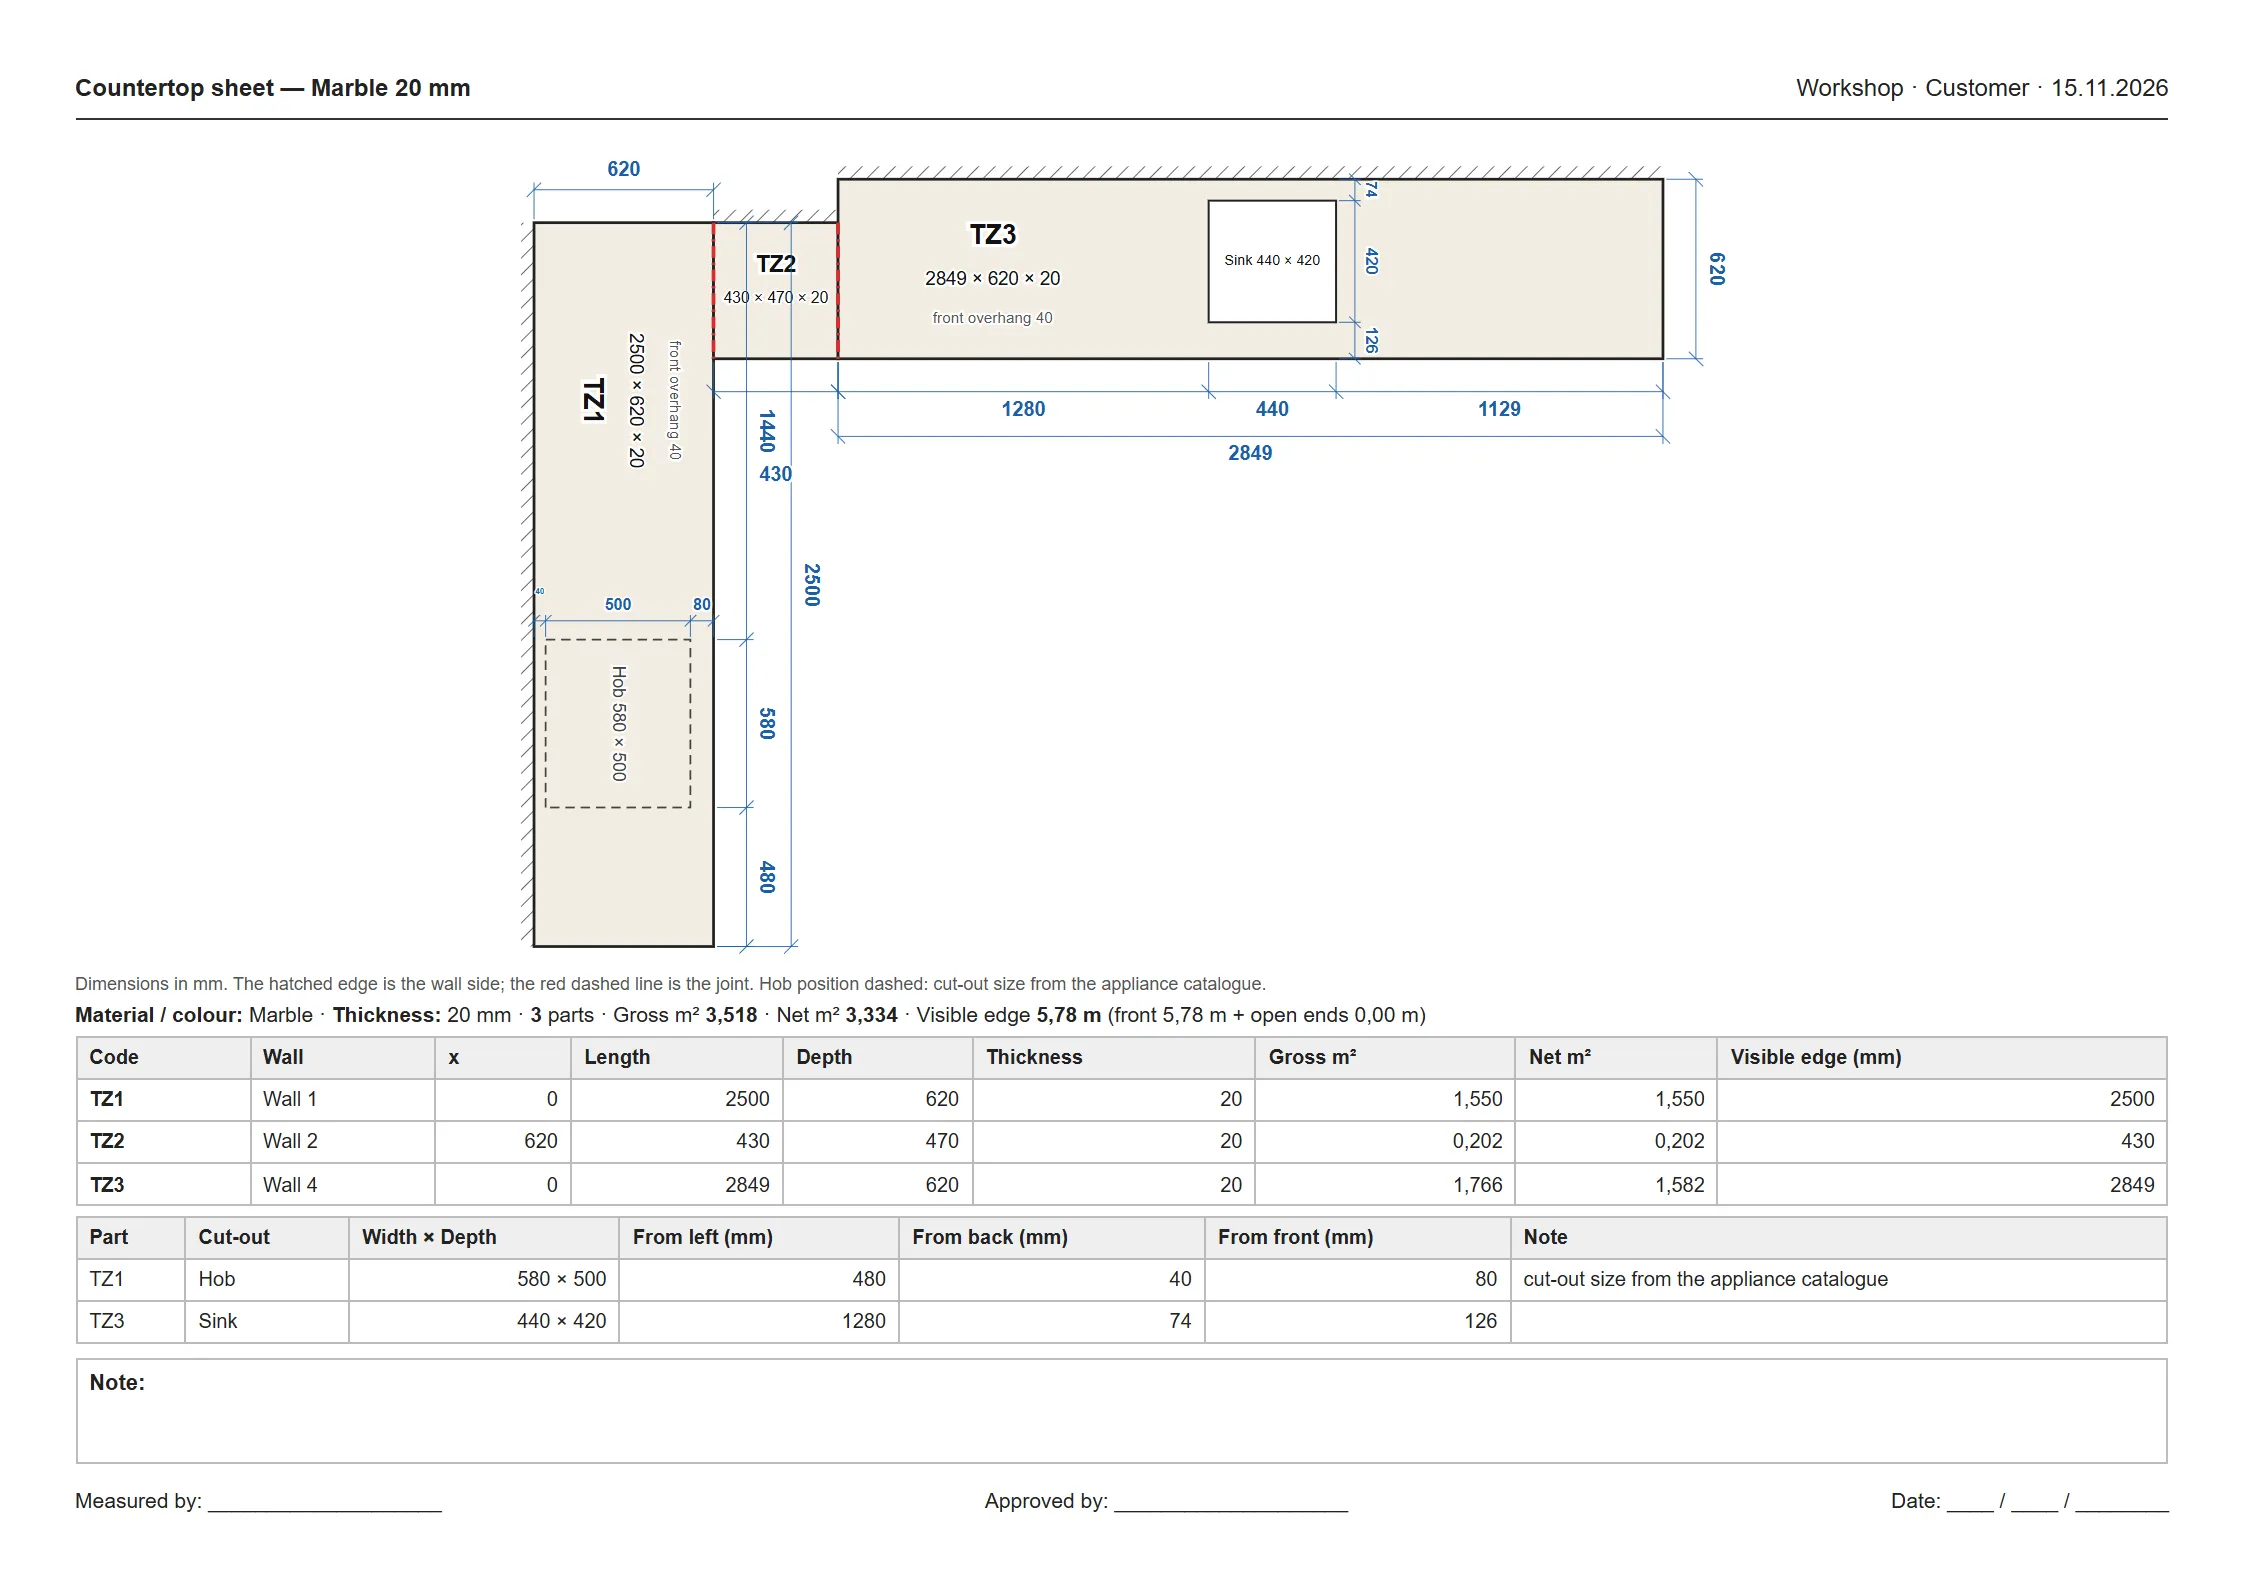
Banding is not forgotten either. The edge banding (the PVC strip glued to a part's visible edge) follows the same rules on notched parts; hidden edges such as the back against the wall, the underside of the plinth and the top of the crown stay unbanded, and you can change that under Production › PVC. Grain direction (which edge the wood pattern runs along on a woodgrain board) is a column in the cut list, and fillers and end panels cut from door material take the same grain as the doors. On the worktop sheet the column notch is marked in white, so you don't have to explain it to the countertop fabricator.
How does this fit with the rest of the kitchen?
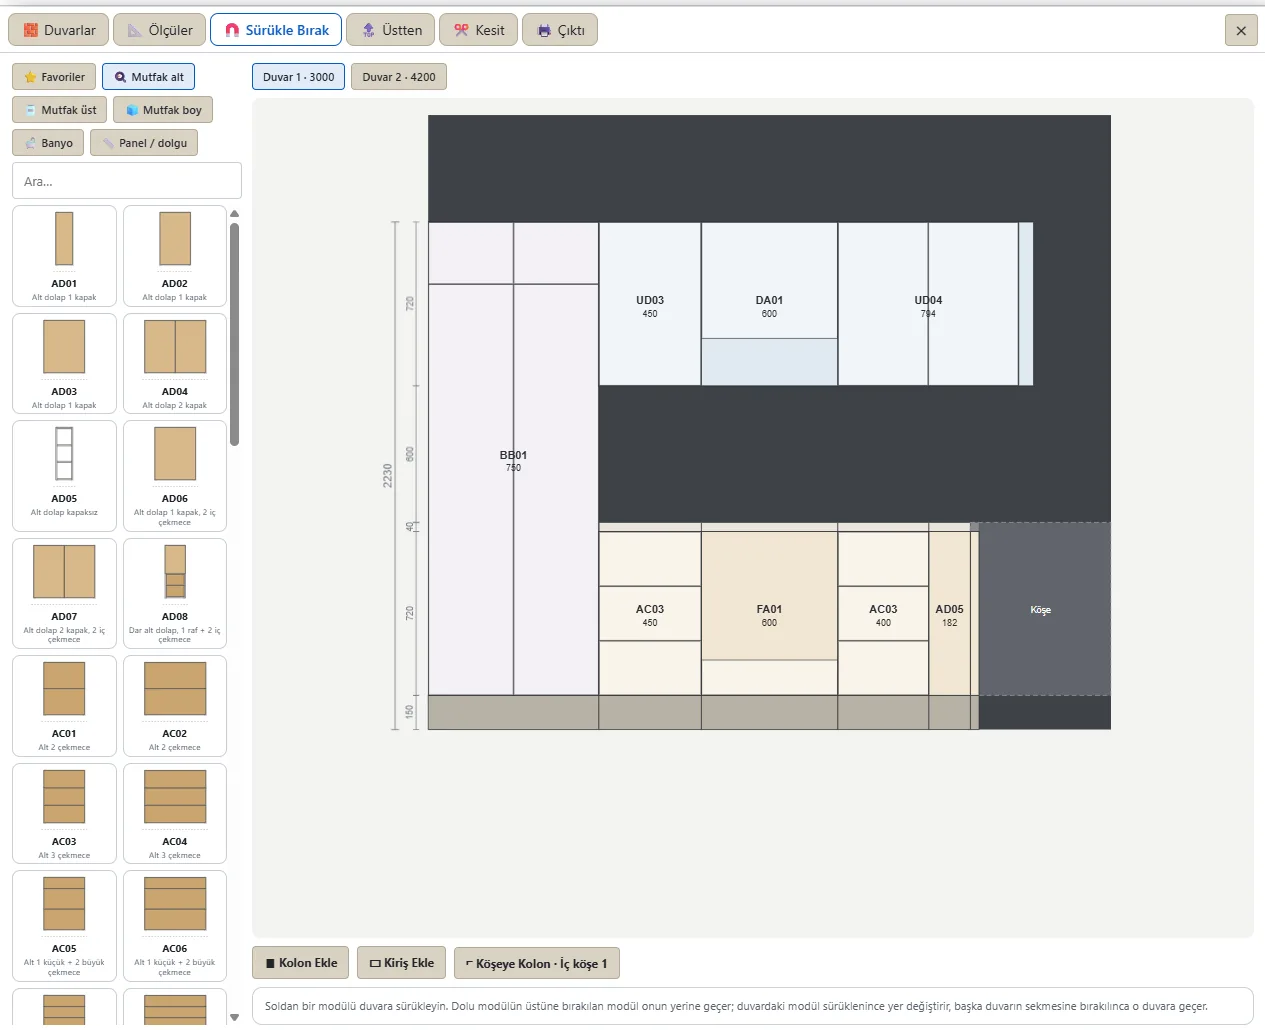
Notching is not a feature on its own; it is part of dynamic kitchen design: change a wall, a column or a beam and the whole run recalculates, instead of you fixing cabinets one by one. The drag-and-drop modules on the Drag and Drop screen (cabinets you drop onto a wall from 245 ready-made modules) are notched by the same rules when you drop them on a wall with a column. That takes fast cabinet design beyond the easy case of a flat, empty wall. In kitchen cabinetry design, meaning base, wall, tall and top cabinets planned wall by wall, structural elements cause most of the surprises; putting them into the plan from the start solves the surprise before cutting.
You set your standards once. Screens such as Walls › Size standard work as the program's dynamic settings page: change the top cabinet or crown size and the top height adjusts by itself; the wall cabinet height you type under Sizes is applied to every standard wall cabinet. On a wall with a beam, that change also reruns the notch calculation.
Once columns and beams are solved, the job moves on to the looks. Door styles (the flat, framed or grooved face of a door) don't disturb the notch calculation; to change door models later, see our article on the 386 door designs. For a handleless kitchen, our gola article shows how the J-profile sits in the drawer joints. Choosing a handle and making a finish change (switching the colour or texture of carcass or doors) work the same way on a wall with columns. All of it happens in one window, laid out like a cabinet design studio; no separate drawing program is needed.
When you quote the job, the notching work isn't lost: you can set the quote's price mode per part, per linear metre or per module. For current pricing and launch terms, check the pricing section. You can also watch how a column looks in the kitchen plan in the column section of the home page.
Frequently asked questions
If a column lands in the middle of a cabinet, is the cabinet split in two?
No. The cabinet stays where it is and is notched around the column. If the drawers no longer fit in front of the column it becomes a door base of the same width; if the column fills the depth, the carcass gets shallower in front of it.
What happens if a wall cabinet cannot be built under a beam?
If there is not 150 mm in front of the beam but at least 250 mm below it, the wall cabinet is shortened. If neither is true, the cabinet is not built and the program warns you; the gap is never closed silently.
Does the notched part cut correctly on the CNC router?
The notch is the part's own contour, so it goes to the cut list, the Cutting Plan, the DXF and the NC file with the same size. The check in the Machine Profile reads the generated code back and no file is produced if there is an error.
Do I need to cut into the beam for the hood flue?
No. The flue makes an S with two 45° elbows in front of the beam and runs up to the ceiling; move the beam and the S is recalculated.
Is this in the demo?
Yes. The 5-day demo has design, 3D and rendering enabled, so you can see the notch in the plan and with X-ray. Production outputs such as the cut list, DXF and NC are in the full version. For more, read our 14 key questions.
By Ufuk Şen, developer of CabinetWizard