November 15, 2026 · 12 min read
Instant Cut List and Worktop Dimensions from Your Cabinet Design
The moment the cabinet is built on screen, the cut list, colour-coded list, labels and a dimensioned sheet for the worktop maker are ready. No calculator, no retyping.
Ask anyone who runs a cabinet shop where the hours disappear and you'll hear the same answer: after the drawing and before the saw. The kitchen has been agreed, the room measured, the design signed off. Then someone sits down and types out a cut list part by part, works out the edge banding, and reads worktop dimensions to the stone fabricator over the phone. In CabinetWizard that middle step is gone. As soon as the cabinet exists on screen, the cut list, the colour-coded list, part labels and a dimensioned sheet for the worktop maker all come out of the same project. This article walks through each of those outputs: what it shows and who in the shop uses it.
Why shouldn't a cut list be written by hand?
A hand-written cut list, meaning the table that says which part, how many, what size and in which material, is a copy of the design. Because it is a copy, it goes stale the moment the design changes. The client decides at the last minute that the sink base should be 800 instead of 600. You fix the drawing, but if you forget to update the bottom, rail, back and doors one by one, the panel saw cuts the wrong parts. The mistake is rarely in the design; it lives in the hand-off between design and list.
In the program the list is not a copy, it is the model itself. That is what we mean by parametric cabinet design: width, height and depth are stored as parametric dimensions, values that recalculate every connected part when you change them. Set the sink base to 800 and the sides stay put while the bottom, rails, back and doors rebuild to the new size; the automatic cut list updates at the same moment. There is no "refresh list" button, because there is no separate list to refresh.
That's why we call it time-saving cabinet design: the real gain is less about drawing faster and more about deleting the manual arithmetic that used to follow every drawing. It's also what sits behind the line on our site: you go from design to the CNC cutting file in 15 minutes.
What's inside the cut list window?
The cut list window shows the same data in different shapes for different jobs. There are five tabs: detail, sizes only, sizes with banding, sizes with banding and grooves, and profiles. If the panel saw only needs sizes, the sizes tab is enough; the edgebander gets the banding view, and parts that need a groove for the back panel go out on the groove view. The detail tab carries part ID, module, section, finished and cut size, grain, band thickness and drill file columns, and you can hide any column you don't need.
A material code filter splits the list by role letter and thickness, so carcass 18 mm, door 18 mm and back 8 mm each get their own code. On the day the doors go to the paint shop, you tick the door code and print just those. Summary cards at the top give the part count, panel m², banding metres, groove metres and number of modules, which is what you order material from.
- Excel (CSV): a semicolon-separated CSV that Excel opens with accented characters intact, ready to send to whoever cuts your panels.
- PDF: A4 landscape with the header repeated on every page.
- Door order: if you buy doors in, they come out as a separate order list.
- Module note: anything you've written on a module ("pack separately, goes to the client's mother") shows up in its own column.
How do edge banding and grain direction show up?
Edge band, the PVC strip glued to the cut edge of particleboard or MDF, changes the cut size directly. Here the program's Production Settings behave like a dynamic settings page: on the edge banding and cut size row, choose Net and the band thickness is subtracted from the cut size, choose Gross and it isn't; you type the carcass, door and hidden-edge band thicknesses in mm. Change a value and every cut size in the list is recalculated on the spot. Hidden edges are left unbanded, and the list and bill of materials say so.
Grain direction, the way a wood pattern or directional texture runs along a part, matters most on doors. The detail tab has a grain column, and labels carry a grain mark. When parts are placed on the sheet in the cutting plan, grained parts are not rotated by default; only if you switch on free orientation yourself can a grained door turn 90°. Plinths, crown pieces and filler panels follow the same grain as the doors.
What is the colour-coded cut list for?
Every part group in the program has its own colour: carcass (sides, dividers, tops, rails) soft orange, shelves blue, drawers yellow, doors green, back panels purple, plinth and legs brown, handles and gola profiles dark grey. The colour-coded cut list puts each colour in its own section, and on the sheet drawing parts are drawn in their colour with a legend at the top. The CSV is sorted in the same colour order and carries a "Colour" column.
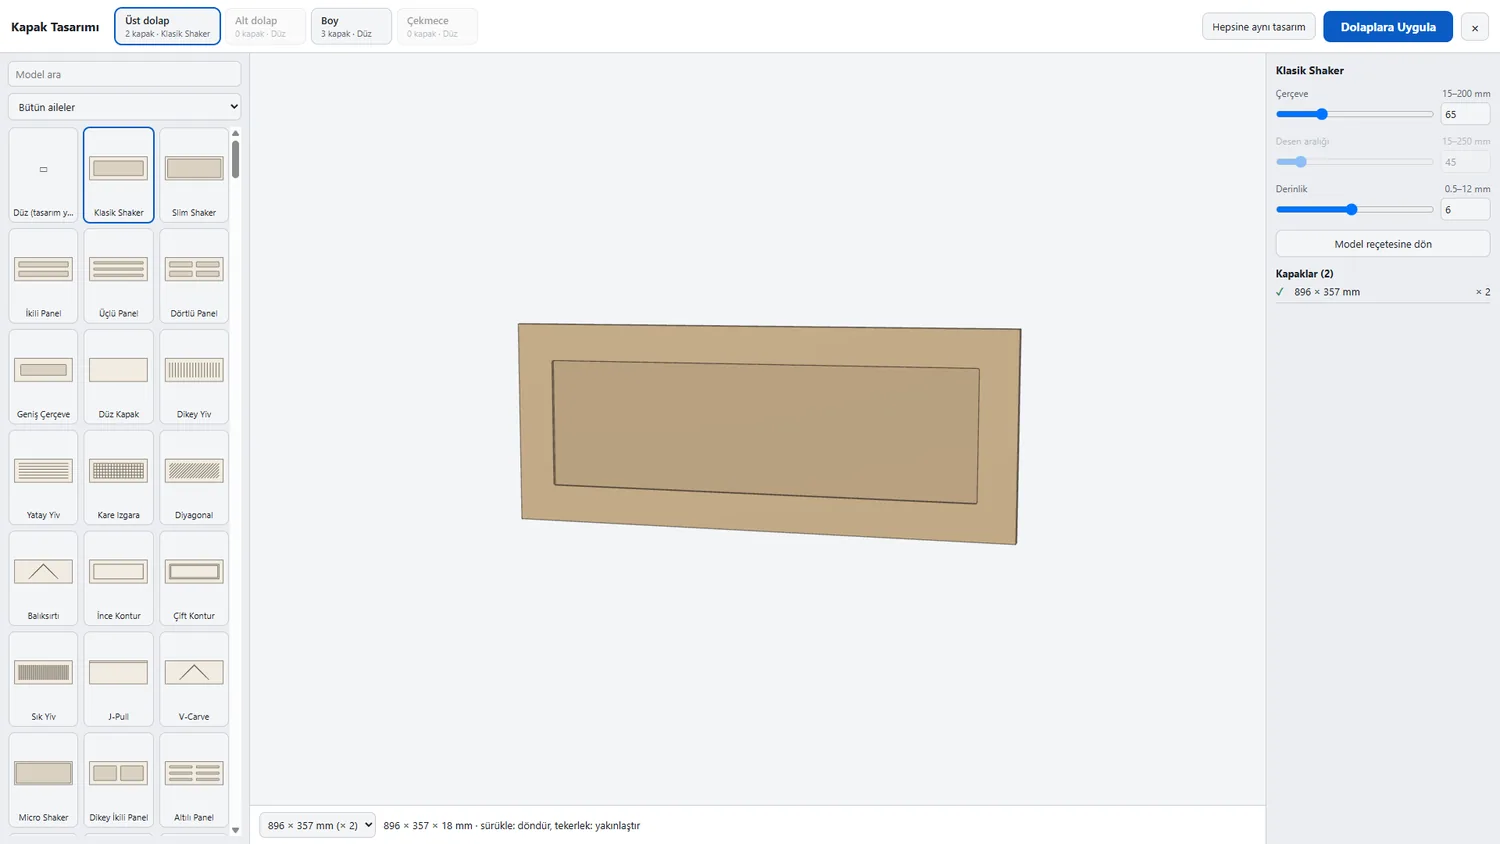
On the shop floor this is simple: the apprentice takes the yellow section and pulls only the drawer parts, the purple section goes to the back panel stack. In a kitchen of a hundred-plus parts, people look for a colour instead of hunting for a part. Whatever door style you choose, plain, framed or patterned, the doors always land in the green group; the program has 386 door designs and the list keeps the same order whichever one you pick. The handle appears as its own item: handles are placed so they fit the front, and gola profiles count in the handle group.
Labels and QR codes: how does a part introduce itself to the fitter?
The label stuck on a freshly cut part is the cut list's life on the shop floor. Part labels print at 50 × 30 or 70 × 40 mm with a Code128 barcode, a banding diagram, a grain mark and the drill file name. Each label also has a QR code; scan it and you get the job, cabinet, part, size and position, so the fitter knows which cabinet the part belongs to and where. You can also print a separate module label for each cabinet.
When a part breaks or is cut wrong, you don't reprint the whole list. Find it by part code, P number or QR text, mark it "Broken" or "Faulty", and only that part goes back for cutting. Revisions work the same way: if the client asks for a change after the job is in production, only the changed parts are listed and only they are cut. Say the client wants a finish change on the wall cabinet doors, meaning same sizes but a different colour or texture. The decor difference counts as a material difference and only those doors land on the new list.
The worktop sheet: one page for the fabricator
In a kitchen, after the cabinets, most mistakes happen on the worktop. The fabricator measures on site, you look at your drawing, and the arguments start: where does the joint go on the L corner, how far from the left is the sink centre, how far back is the hob cut-out? In CabinetWizard the kitchen plan's Output section has a worktop sheet that answers all of that on one page.
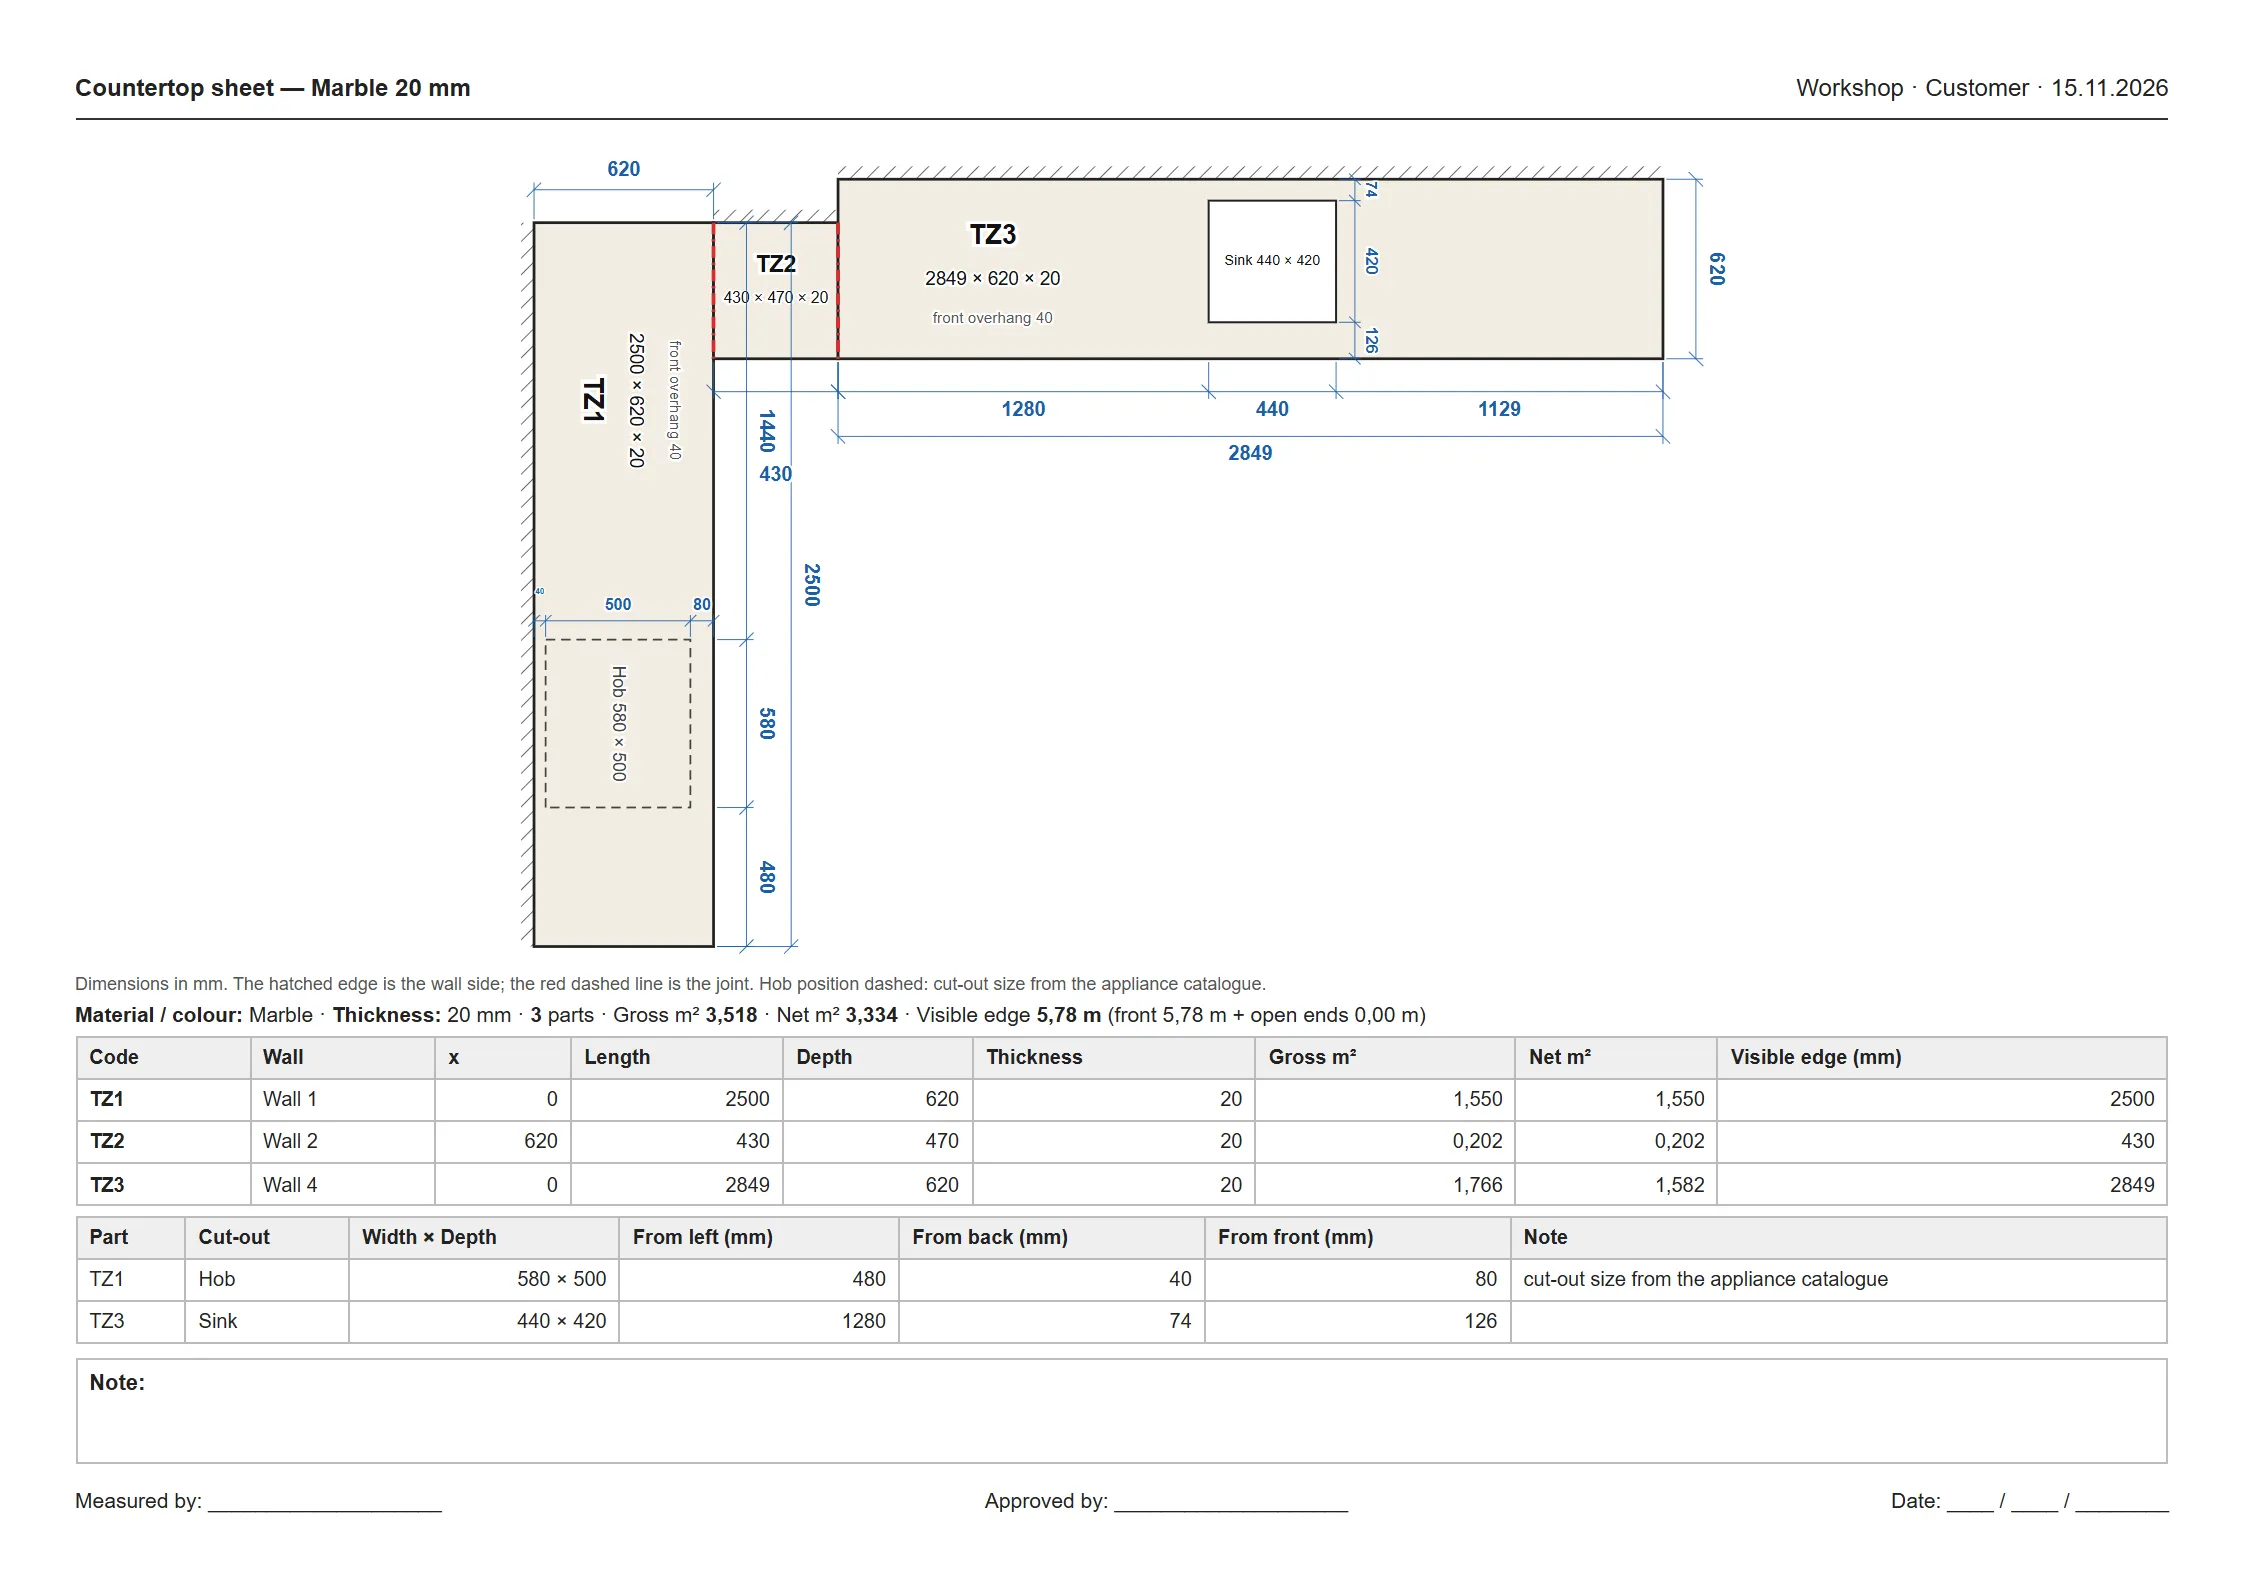
The top half is a dimensioned plan view. Every worktop piece gets a TZ code and is written as length × depth × thickness, with the front overhang noted separately. The wall side is hatched, and the joint on an L or U corner is a red dashed line. Sink cut-outs and column notches are white boxes, the hob position is dashed; the hob cut size comes from the appliance catalogue and the sheet notes that. Dimension chains from the left and from the back fix the position of every cut-out.
The example above is from our sample kitchen: 20 mm marble, three pieces. TZ1 is 2500 × 620 × 20, TZ2 430 × 470 × 20, TZ3 2849 × 620 × 20. The hob cut-out on TZ1 is 580 × 500, 480 from the left, 40 from the back and 80 from the front; the sink cut-out on TZ3 is 440 × 420, 1280 from the left, 74 from the back and 126 from the front, all in mm. The fabricator can start cutting from this sheet without a single number read out over the phone.
The m² summary and sign-off line
Under the plan sits a summary line: material and colour, thickness, number of pieces, gross m², net m² (cut-outs removed) and visible edge length. In the example that's 3.518 m² gross, 3.334 m² net and 5.78 m of visible edge. The fabricator prices from these figures and you build your quote from the same ones. Below come a piece table (code, wall, length, depth, thickness, gross and net m², visible edge) and a cut-out table (piece, cut-out, width × depth, from left, from back, from front). At the bottom there's a notes box plus "Measured by", "Approved by" and "Date" lines. A signed sheet ends the "I never said that" conversation on site. If there are more than seven rows, the sheet runs to two pages.
Download the sample and show it to your own fabricator: Worktop sheet sample (PDF).
The worktop cut list and the cut sizes pages
The worktop sheet is for the fabricator, but the worktop also appears in your own lists. The cut list window has a separate Worktop view, exportable to Excel and PDF. Each worktop piece is listed exactly as it is in 3D, length × depth × thickness, gross and net m², with its cut-outs; on a recessed wall the real depth is written. The kitchen plan output's module list includes TZ rows plus plinth (BZ), plinth return (BY) and crown (TC) rows. At the very end of the output come the cut sizes pages: sheet parts grouped the same way as the cut list, together with the service cut-outs.
In angled kitchens, where a corner is not 90°, the worktop meets on the bisector with a mitre and the sheet draws a diagonal front edge. If a project has no worktop, the worktop sheet option doesn't appear; nothing gets printed for something that isn't there.
From list to sheet, from sheet to machine
Once the cut list is done, the next step is sheet nesting, placing parts on the board with as little waste as possible. In the cutting plan you enter sheet size, blade kerf and trim; the program draws the automatic sheet layout diagram and gives a fill percentage and waste summary for each sheet. In our sample kitchen 157 parts fitted on 8 sheets with an overall yield of 81.9%. With the layout done, the export to CNC step, where parts and holes become machine files, produces CNC/DXF and G-code. The DXF opens in whatever CAM software your shop uses; the NC file goes straight to the router.
All of this is calculated inside CabinetWizard's own CNC cutting and machining system, from one project. Since there is no manual step carrying sizes into a list, the list into a plan, the plan into the machine, error-free CNC cutting stops being a matter of being careful and becomes the outcome of the workflow. In a shop doing CNC cabinetmaking, that means the operator at the router doesn't have to ask "is this size right?". More in the cutting and CNC section.
Where do these outputs get used?
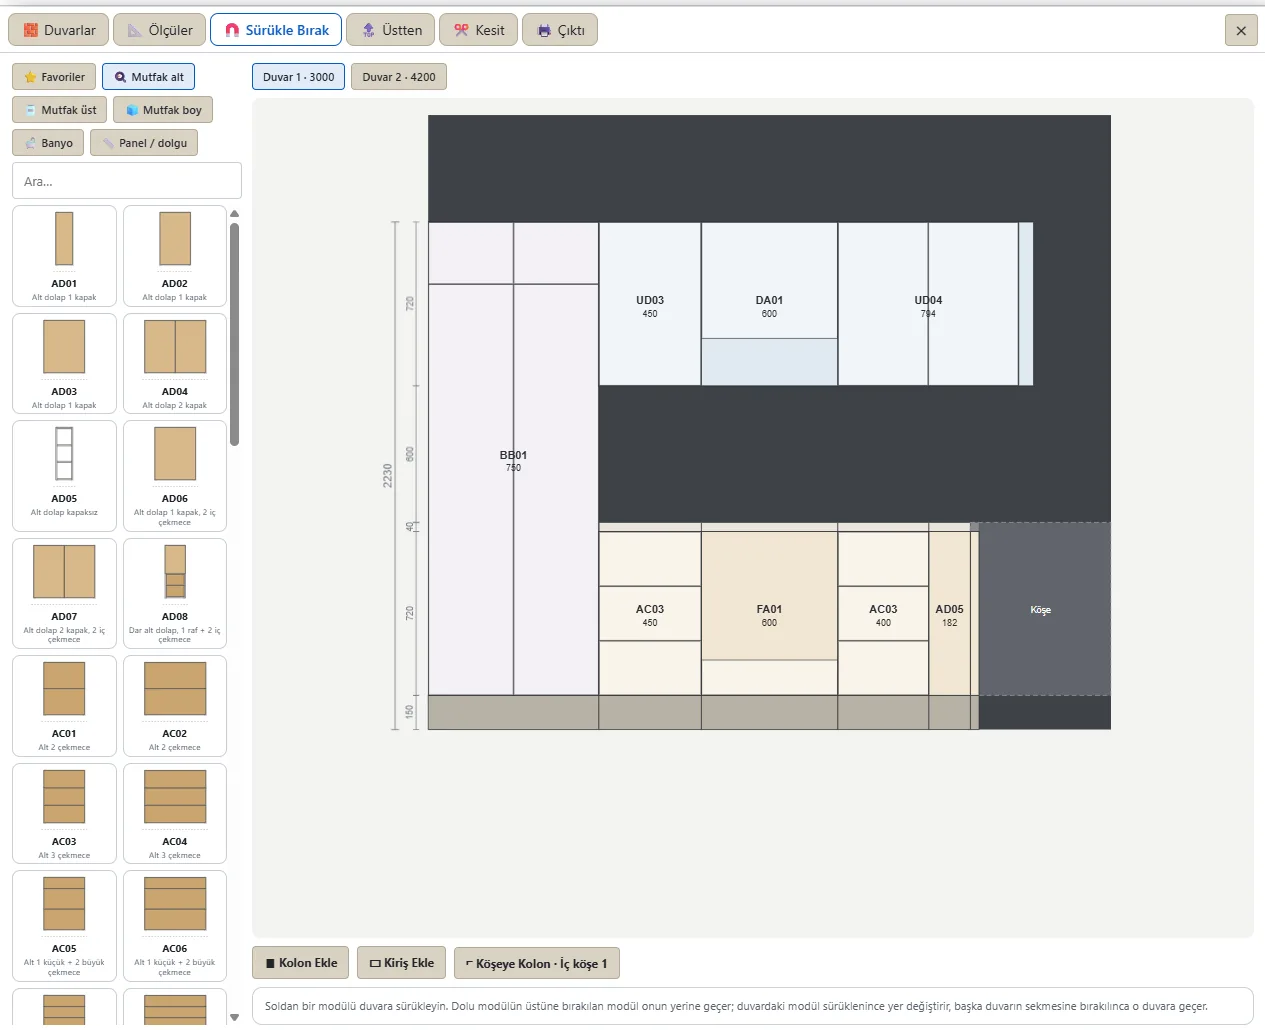
Cut lists and labels work for every cabinet: wardrobes, hallway units, bathroom vanities, kids' rooms. The worktop sheet comes in with kitchen cabinetry design. In the kitchen plan, drag-and-drop modules, ready-made cabinets you pick from the library and drop on a wall, build the worktop automatically; the program ships with 245 ready modules. We call this dynamic kitchen design: change the wall length or a module width and the worktop pieces, joints and cut-outs are recalculated too. Smart kitchen planning, where cabinets place themselves around door swings, columns and service points, also keeps the worktop sheet right, because if the sink lands in front of the plumbing, the cut-out lands there too.
For a one-person shop, think of the program as a cabinet design studio, a workspace where the design desk and the production office share one screen. Fast cabinet design here is less about drawing quickly and more about the shop being able to start work the moment the drawing is finished. The quote comes from the same project too, priced per part, per linear metre or per module. For the current price and launch terms, see the pricing section.
Frequently asked questions
Is the cut list available in the demo?
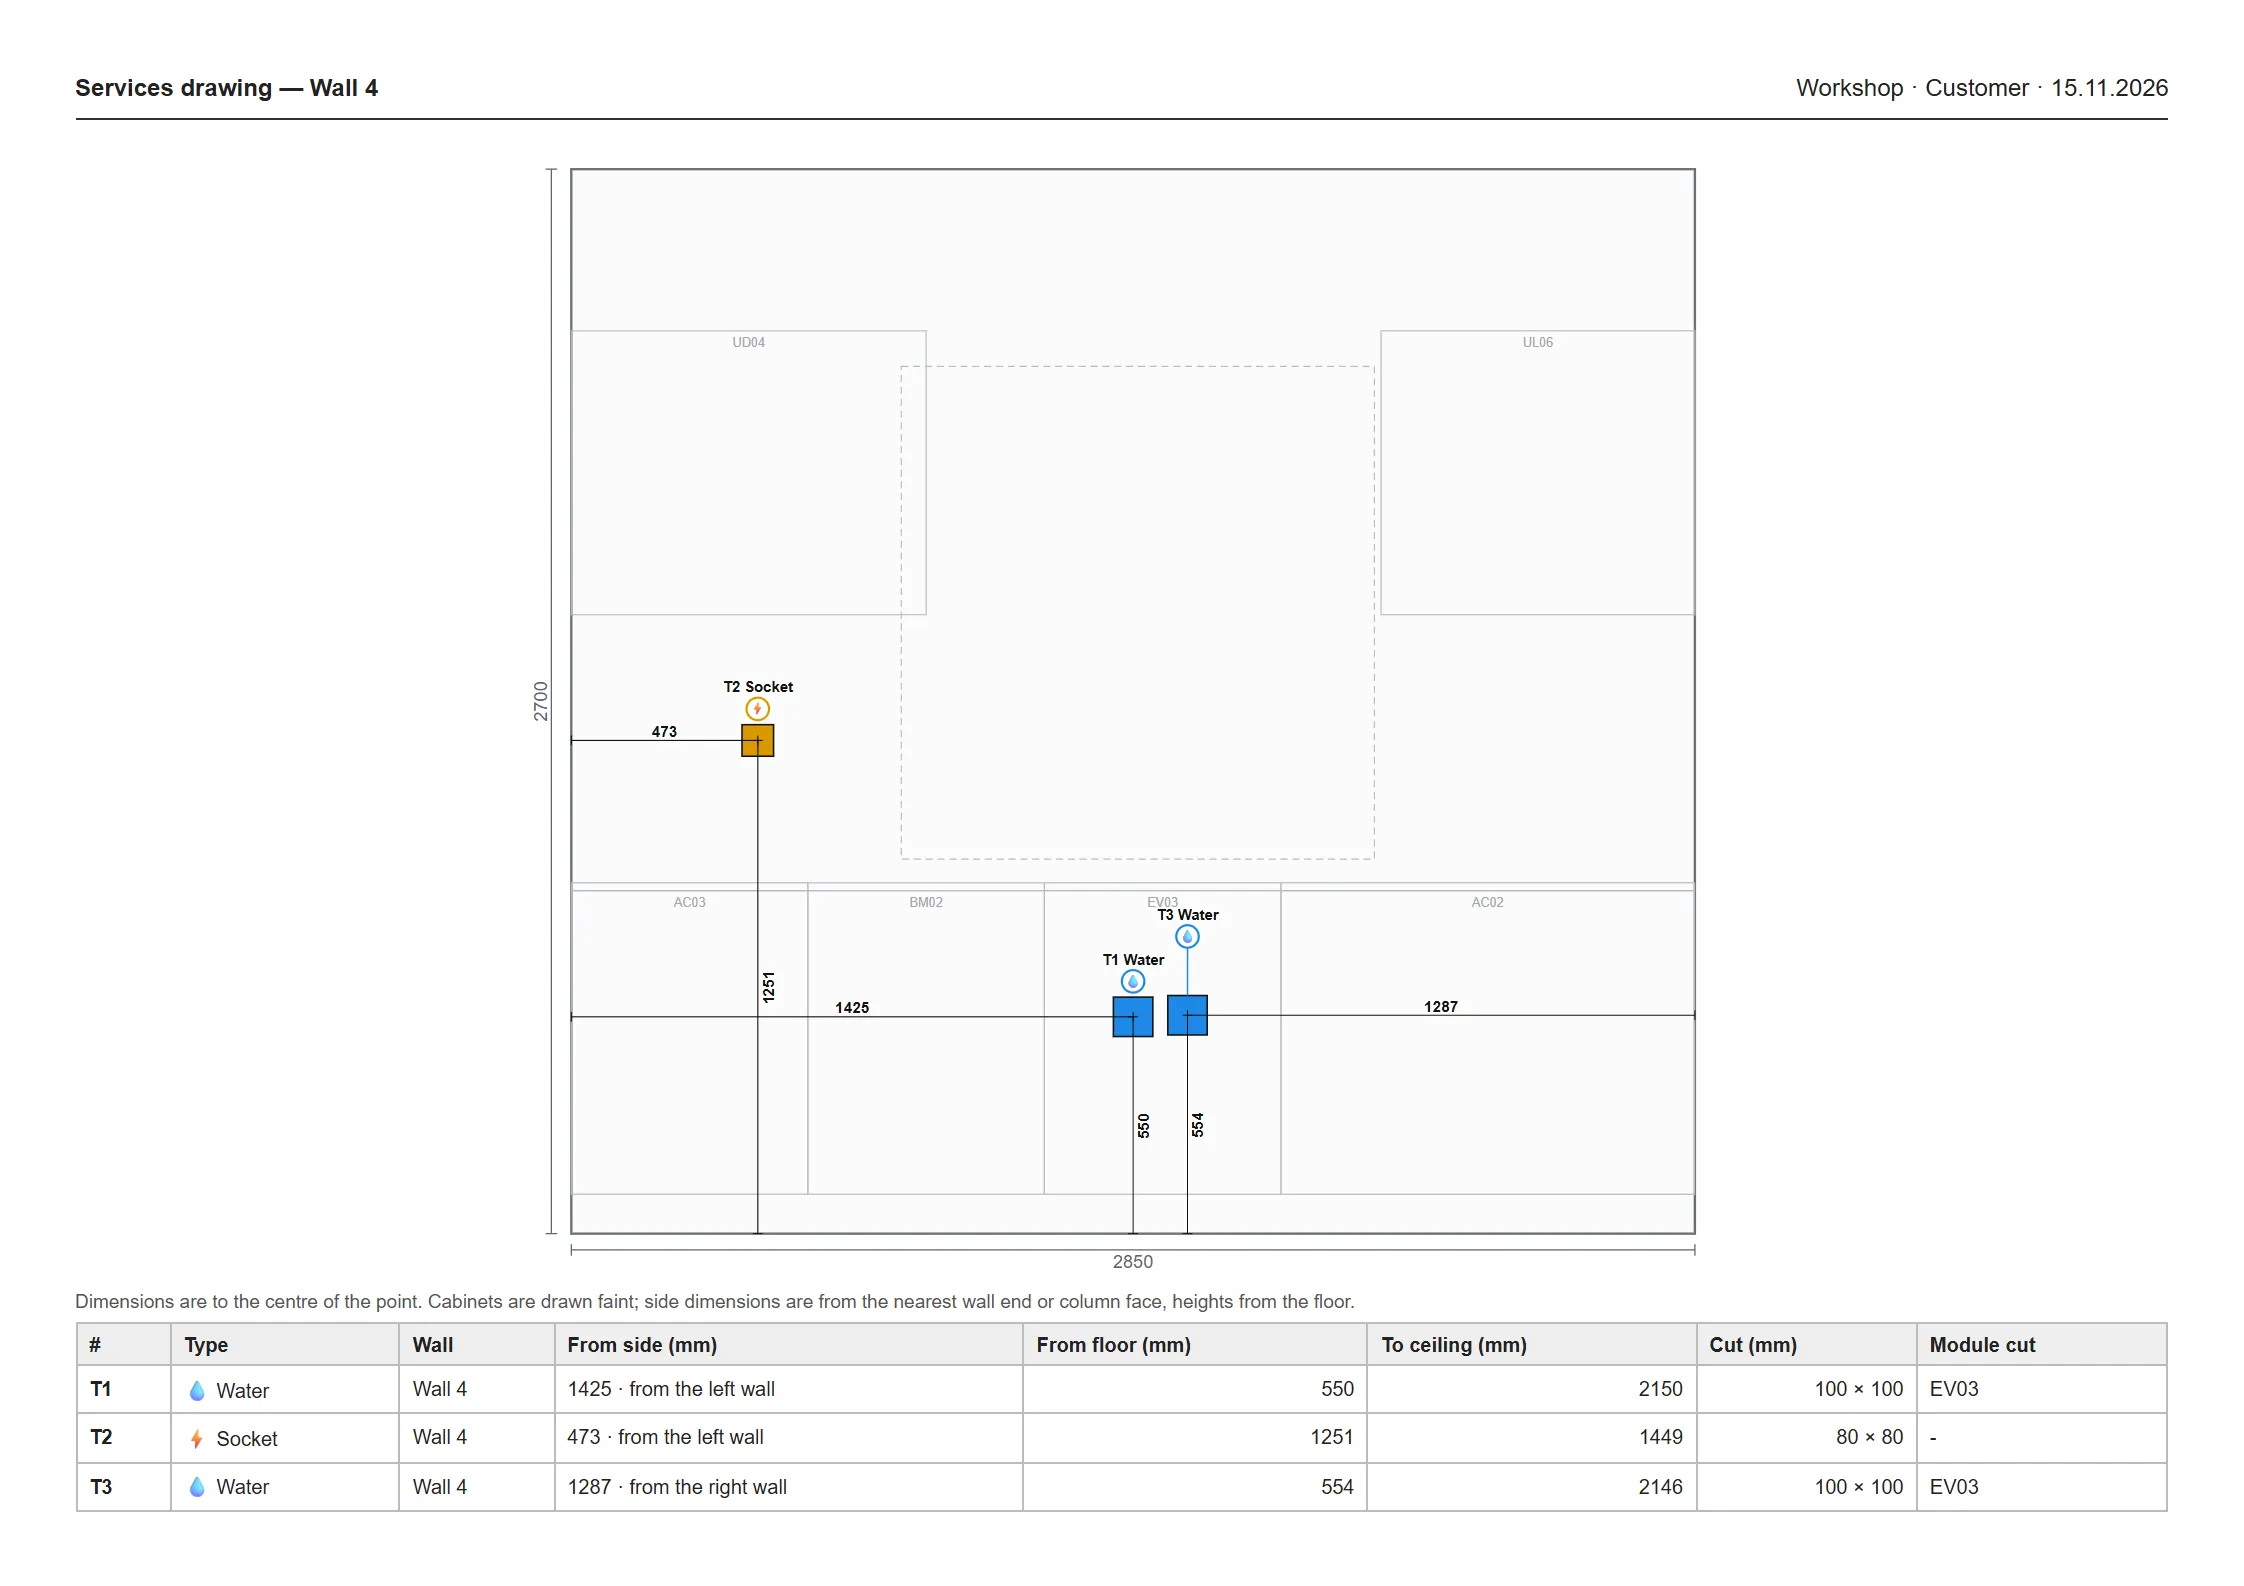
The demo runs for 5 days with design, 3D, rendering, project saving and GLB open. Production outputs such as the cut list, cutting plan, DXF, NC, labels, quote, worktop sheet and services drawing are in the full version.
Can I open the cut list in Excel?
Yes. The Excel button gives you a semicolon-separated CSV that opens with characters intact. The same list also prints as an A4 landscape PDF.
Is the hob cut-out on the worktop sheet a final size?
The sheet gives the hob position and the appliance's outer size, and notes that the built-in cut size must come from the appliance catalogue. Sink and column cut-outs match the holes in the 3D model.
What if the client changes something after production has started?
The revision comparison lists only the changed parts; CSV, colour-coded list, nesting, NC and labels come out for those parts only. For other questions, see 14 key questions about CabinetWizard.
By Ufuk Şen, developer of CabinetWizard