November 15, 2026 · 11 min read
Handleless Gola Kitchen Design in Seconds
Stop working out gola profiles by hand for handleless kitchens. CabinetWizard sets the profile per cabinet, adds a mid-rail at drawer joints and keeps the drawer box clear of it.
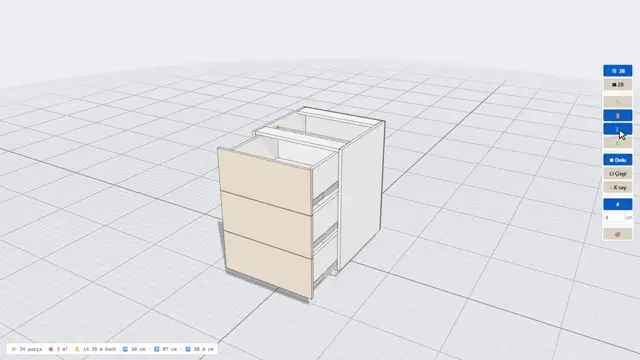
Clients asking for a handleless kitchen are no longer the exception. On paper it looks easy: drop the handles, put an aluminium profile above the door. In the shop it isn't. The profile needs room inside the carcass, the door gets shorter, the drawer box hits the profile, every joint between drawers needs its own mid-rail, and at the end nobody is quite sure how many metres of profile to order. In CabinetWizard, gola is a per-cabinet setting: it builds the profile with its real cross-section, shortens the doors to suit, keeps the drawer box clear of the profile and carries the metres into the quote. In this article we explain how the gola profile (often called a J-profile or channel handle) works in the program, the new "All fronts" option, and what to watch for in the shop.
What is a gola handle, and why is it hard to work out by hand?
A gola is an aluminium profile that sits inside the carcass above a door or drawer front; you put your fingers into its channel and pull. In other words, the handle stops being a pull screwed onto the door and becomes part of the carcass. That's a good thing, but it comes at a cost: the profile's height and depth are taken out of the carcass. The door above it gets shorter, the side panel is cut for the profile, and if there is a shared divider, that gets notched too. In a drawer cabinet it gets more involved, because every joint between two drawer fronts needs a mid-rail profile, and the drawer box must not sit behind that profile.
In a shop that works by hand, these calculations often happen at install, with the profile in hand. In the program they are part of parametric cabinet design: switch gola on and the door height, the panel cut-outs, the drawer box and the hardware line all come from one calculation. Change the profile size and all of them change together. That is genuinely time-saving cabinet design: the job is finished at the design desk instead of trimming profiles and planing doors on site.
Which gola types does the program have?
Gola comes in four types, and each is drawn in 3D with its real cross-section, not as a solid box:
| Type | Where it goes | Note |
|---|---|---|
| J profile | Above the top door or drawer of a base cabinet | Upright back wall, rounded bottom, lip at the front |
| C profile | Between two fronts stacked one above the other | Upright wall, top and bottom flanges |
| L profile | As the top profile | "Overhangs the door front" lip 0–40 mm (default 15); aluminium or MDF |
| Under wall cabinet | Wall cabinets only | The bottom door drops by the profile height and becomes handleless |
The sizes of profiles commonly sold on the market are built in as a catalogue: three J, three C and four under-wall-cabinet profiles, two of them with LED. On the Gola card in the Production panel, pick one from the Market profile row, or use Custom size to type your own profile's height and depth. The hardware line is written with the profile code and size. If you choose MDF for the L profile, the lip and upright strip become a part cut from the door material at door thickness and go into the cut list; in aluminium it is a hardware item.
How do you choose gola: per cabinet, or for all cabinets?
Gola is not forced on the whole project; it is a per-cabinet setting. The cabinet card has two rows: "This cabinet" and "All cabinets (except wall cabinets)". The same choice is on right-click › Cabinet › Gola, and "⇉ Apply this setting to all cabinets" spreads what you set on one cabinet to the rest. The project gola is not applied to wall cabinets; for a handleless look up there, choose the under-wall-cabinet profile on that cabinet separately.
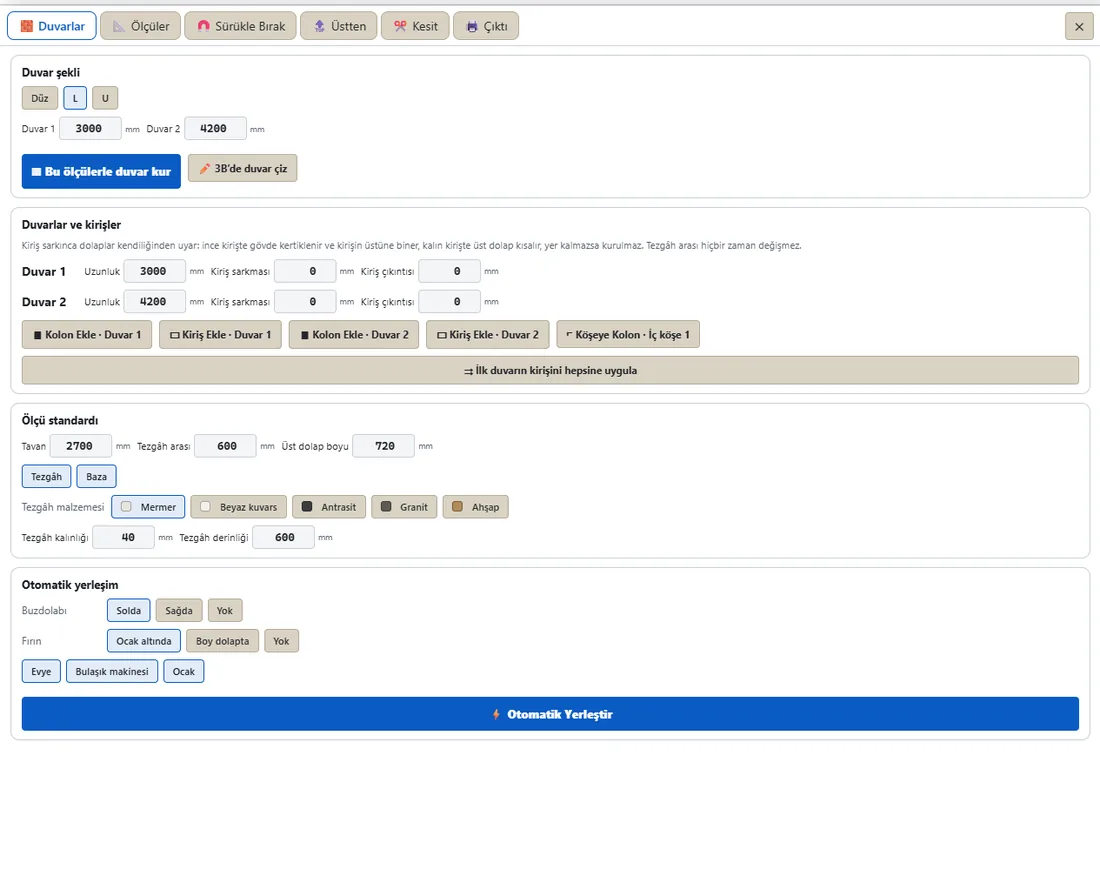
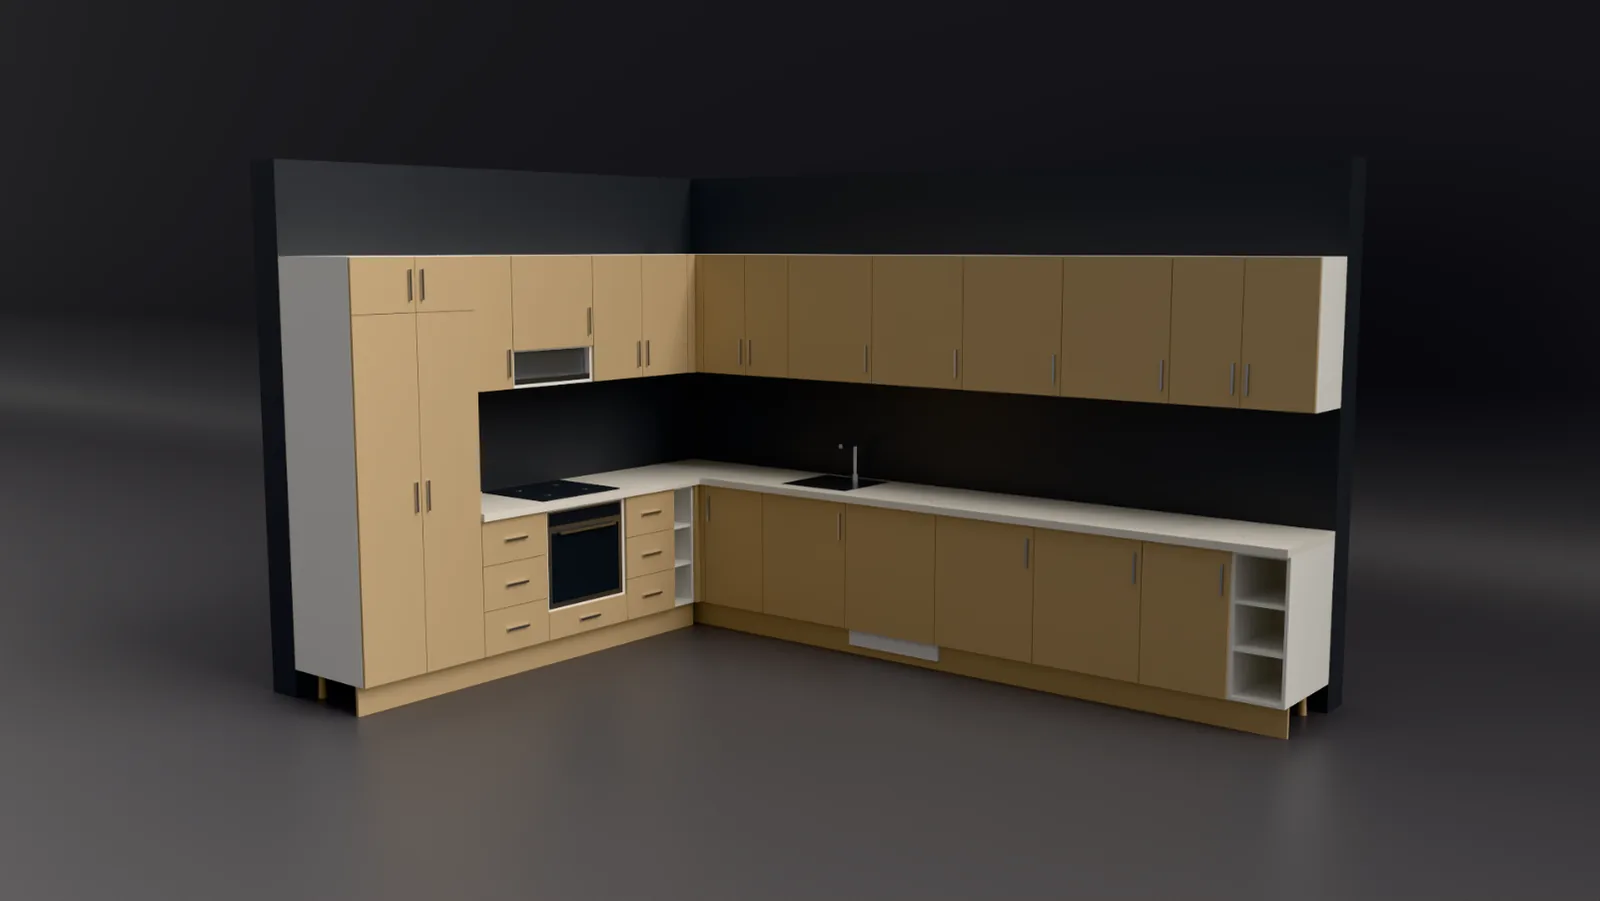
A shop example: a 12-foot straight wall with a 24" tall unit on the left, then a 36" three-drawer base, a 24" sink base, a 24" oven base and an 18" drawer base. The client wants gola on the base cabinets and wall doors that overhang 20 mm at the bottom as a finger pull. You give one base cabinet a J profile and spread it with "All cabinets"; the project gola doesn't go to the wall cabinets. On the wall cabinets you switch on the door overhang. Gola below and overhang above also work together in the same module; the overhang only skips the door of the gola cabinet.
Ready-made modules added later from the Drag and Drop screen take the project's gola, so drag-and-drop modules (cabinets you drop onto a wall from the 245 ready-made modules) arrive matching the kitchen. A group you saved to Favorites comes back exactly as it was, gola included.
All fronts: a mid-rail at every drawer joint
The change that arrived with version 0.6.86 solves the detail people ask about most in gola kitchens. Before, only the top drawer had a gola above it. Now, when you choose J or L, "All fronts (mid-rail at every joint)" switches on by itself: a mid-rail goes between every two fronts stacked one above the other. For J and L, that mid-rail is the catalogue C profile; for type C, the cabinet's own C size is used. The J or L on top stays as it was.
Three consequences matter in the shop:
- The drawer box stays out of the profile. At a joint with a mid-rail, the drawer box sits outside the profile; the runner, box height and holes move with it. The box you see on screen is the box that gets cut.
- In a multi-section cabinet, the profile is only in the relevant column. In a cabinet with two drawer columns side by side, the profile goes only into the column of fronts sharing that joint, and a joint at the same height in the same column is a single profile. The top profile never runs into the shared divider; the divider is always notched, and parts never overlap.
- No profile where it doesn't fit. If a front is too narrow or there's no room left for the box, the program leaves that joint without a profile and shows a gola warning with the measurements. It never silently builds something wrong.
You can also remove joints one by one. At the end of the GOLA section on the cabinet card, next to the "All fronts" chip, there are joint chips such as "below front 1 · height 276"; tap one and the profile at that joint goes away. At the very end of the right-click menu there's also "⌐ Gola profile: above this front", which works on doors and drawer fronts. If you remove a joint on a cabinet that uses the project gola, the gola is copied to that cabinet, and the other cabinets are untouched.
How does gola get to cutting, CNC and the quote?
Gola isn't just a picture on screen. The space the profile takes is subtracted from the door size, and the side panel and divider cut-outs become the parts' own contours. So the automatic cut list (the list that pulls each part's size, material and banding straight from the project) gives the shortened doors and notched panels at their true sizes. The automatic sheet layout in the Cutting Plan lays those parts out at their real sizes, and sheet nesting (arranging parts on the sheet with the least waste) is recalculated with the shorter doors.
When you export to CNC, carcass cutting, drilling and divider notches go from the same project into the NC file; per-part CNC/DXF files come out too and open in whatever CAM software your shop uses. That's the job of CabinetWizard's own CNC cutting and machining system: the check in the Machine Profile reads the generated code back and writes no file if there's an error. Because the gola cut-outs are calculated rather than drawn by hand, you get one step closer to error-free CNC cutting. For a shop doing CNC cabinetmaking, it means not having to route out panels for the profile during install.
On the quote side, the gola profile is priced by the metre. The hardware line carries the profile code and size, so the list for your aluminium supplier and the price the client sees come from the same metres. You can set the quote's price mode per part, per linear metre or per module. For current pricing and launch terms, see the pricing section.
Banding and grain aren't forgotten. Edge banding (the PVC strip on a door's visible edges) is calculated at the new size on a shortened door; in a gola kitchen the top edge of the door shows through the profile, so it's worth checking the banding rule under Production › PVC. Grain direction (the way the pattern runs on a woodgrain door) is a column in the cut list, and the MDF lip of the L profile, cut from door material, comes in the same finish as the door.
Gola with door styles, finishes and the rest of the kitchen
Gola works together with door styles (the slab, framed or grooved face of a door). Handleless kitchens are usually done with slab doors, but you can give a gola door any model from the Door section; we cover the 386 designs and the Apply to cabinets button in our door designs article. For a pull built into the door itself there's also a door model called J-Pull; because it needs a special tool, it gives a warning instead of NC. Cabinets without gola keep the classic handle or the handleless push-to-open option.
A finish change (switching the colour or texture of door or carcass) works the same on a gola cabinet. In a two-tone kitchen, wall and tall doors can be one colour and gola base cabinets another; they're listed as separate materials in the cut list. Rendering is built into the program, and the gola goes into the render from the same scene with its real cross-section, so the client sees the channel.
Gola sits inside kitchen cabinetry design, where base, wall, tall and top cabinets are planned wall by wall. Dynamic kitchen design here means: change the number of drawers in a cabinet and the joints and mid-rails are recalculated, you don't count profiles. Smart kitchen planning, a layout where cabinets place themselves according to the door swing, the plumbing and the columns, follows the same rules for gola cabinets; you can read how a cabinet with a column is notched in our automatic notching article.
You manage sizes from one place. The Gola card in the Production panel, Size standard and Divider Settings act as the program's dynamic settings page: change the profile size and the gola cabinets are rebuilt. The profile height is a parametric dimension; change it and the door height, and the drawer box where needed, change with it. Everything is in one window, laid out like a cabinet design studio, so fast cabinet design stays fast in a handleless kitchen too. You can also see gola and the other hardware in the hardware section of the home page.
Frequently asked questions
Can gola go between every drawer?
Yes. When you choose J or L, "All fronts" switches on and a mid-rail goes between every two stacked fronts. Remove any joint you don't want with its chip on the cabinet card or from the right-click menu.
Will the drawer box hit the gola profile?
No. At a joint with a mid-rail, the box stays outside the profile; runner, box height and holes move with it. If there isn't room, no profile goes in that joint and a warning with measurements appears.
Can wall cabinets have gola?
The project gola isn't applied to wall cabinets. There's a separate under-wall-cabinet profile, chosen cabinet by cabinet; the bottom door drops by the profile height.
Does the gola profile go into the quote?
Yes. It's priced by the metre and the hardware line shows its code and size. If you pick MDF for the L profile, the lip becomes a part cut from door material in the cut list.
Can I try gola in the demo?
The demo has design, 3D and rendering open, so you can build and view gola in 3D. Outputs such as the cut list, NC and quote are in the full version. For more, read our 14 key questions.
By Ufuk Şen, developer of CabinetWizard