November 16, 2026 · 10 min read
How to Measure a Kitchen for Cabinets: A Step-by-Step Guide
Tape, laser, level and a sheet of paper: the order in which to measure walls, corners, columns, services and appliances so the kitchen cabinets fit the first time.
Most kitchen cabinet mistakes aren't made in the shop; they're made on measuring day. A beam nobody wrote down, a drain in the wrong spot on the sketch, a corner everyone assumed was square: they all come back on install day as a part that's already been cut. In this guide we walk through what a cabinetmaker, or a homeowner planning their own kitchen, should measure on site and in what order. We won't invent standard dimensions: every room has its own, and for appliances the manufacturer's installation sheet always has the final word. At the end we show briefly how those measurements go into CabinetWizard.
What should you bring to the measure?
If you show up short of a tool, a second visit is almost guaranteed. Pack these:
- Tape measure: for short runs, outlets and faucet positions.
- Laser distance meter: for long walls and ceiling height; a big help when you're measuring alone.
- Level or cross-line laser: to see whether the floor and walls are true.
- Framing square: to check whether corners are 90°.
- Graph paper, pencil and a phone camera: for the sketch and photos.
Pick one unit and stick to it from start to finish. Because the program and most cutting work in millimeters, that's what we recommend; switching units halfway down the page is the most common source of mix-ups on a sketch.
How do you measure the walls, and why isn't one number enough?
A wall length looks like a single number, but in older buildings it rarely is. Measure every wall at three heights at least: near the floor (base cabinet level), around countertop height, and at wall cabinet level. Because of plaster build-up or a leaning wall, those three readings can differ by a few millimeters or more. Plan to the shortest reading; closing a leftover gap with a filler or end panel later is far easier than trimming a cabinet that won't fit on site.
Number the walls on your sketch: Wall 1, Wall 2, Wall 3. In an L or U kitchen, mark with an arrow which walls meet at which corner. Measure corner to corner; if you started from some other point, write that down.
Are the corners really square?
If two walls don't meet at 90°, the corner cabinet and the countertop joint in an L kitchen will cause trouble. Put a square in the corner; if it gaps, mark an equal distance along each wall from the corner and measure between the two marks to work out the angle. Always note an out-of-square corner on the sketch.
Where should you measure the ceiling height?
Take the ceiling at several points too: both ends and the middle of each wall. If the wall cabinets will run to the ceiling, the lowest point decides. In an attic with a sloped ceiling, note where the slope starts and the lowest height. If the floor tile isn't down yet, write that down as well; the height changes once it's laid.
Doors, windows and swings: what do you need to measure?
Doors and windows are where cabinets clash most often. For each one, record:
- Distance from the corner to the casing (left and right edges separately).
- Width and height including the casing; for windows, also the sill height, meaning how high the bottom of the window is from the floor.
- Swing: does the door open in, and to which side? Does the window sash swing inward?
- The area the leaf sweeps: when the door opens, does it hit a cabinet front or the next cabinet's door?
The window sill height decides where the countertop and wall cabinets can go. The area a door sweeps may mean no cabinet can go there at all. Draw it on the sketch as an arc.
Why measure columns, beams and recesses separately?
A column sticking out of a wall or a beam dropping from the ceiling turns a plain wall into a very different one. For a column, write down its distance from the corner, its width and how far it projects from the wall. For a beam, measure how far it drops from the ceiling and how far it projects from the wall. If the wall has a recess or a bump-out (an old chimney breast, a former niche), note where it starts and ends and how deep it is.
These usually affect wall and tall cabinets. A cabinet that lands in front of a column may have to be notched, cut away where the column comes in. We covered that in detail in automatic notching for columns and beams.
Service points: how do you measure water, drain, gas and electrical?
Service points largely decide the layout; the sink usually goes near the drain and the range or cooktop near the gas. Take two measurements for every point: horizontal distance from the nearest corner and height from the floor. Mark each of these:
- Hot and cold water supplies, the drain pipe and its diameter.
- The gas valve, or where the gas line comes out of the wall.
- Existing outlets, switches and circuits; the location of any dedicated circuit for the oven or cooktop.
- The range hood duct outlet, on the wall or ceiling, with its diameter.
- Radiators: position, width, height and how far they stand off the wall. Talk to the client about whether it will move.
If services are moving, the plumber and electrician need a dimensioned drawing. We showed how CabinetWizard produces one in plumbing and electrical plan for cabinets.
Where do appliance dimensions come from?
We won't give generic sizes for the refrigerator, oven, cooktop, dishwasher, hood or sink; even appliances in the same class differ from brand to brand. If the client already has the appliance, write down the model and take the sizes from its installation sheet: cut-out width, cut-out height, depth and ventilation clearance are all there. If it hasn't been bought yet, at least note the type (built-in or freestanding; gas or electric cooktop). For a freestanding refrigerator, measure and write down its height from the floor; if a cabinet goes above it, that number decides it.
How should you draw the sketch, and what goes on it?
A good sketch is one someone who wasn't on site can read. Draw the kitchen from above, number the walls and write each measurement beside its wall. Show doors and windows with their swing, columns and beams with their sizes, and service points with small symbols. Take a straight-on photo of each wall and give it the same number as on the sketch. Write the client's wishes on the same sheet too: sink under the window? Dishwasher on which side? Wall cabinets up to the ceiling?
How do these measurements go into CabinetWizard?
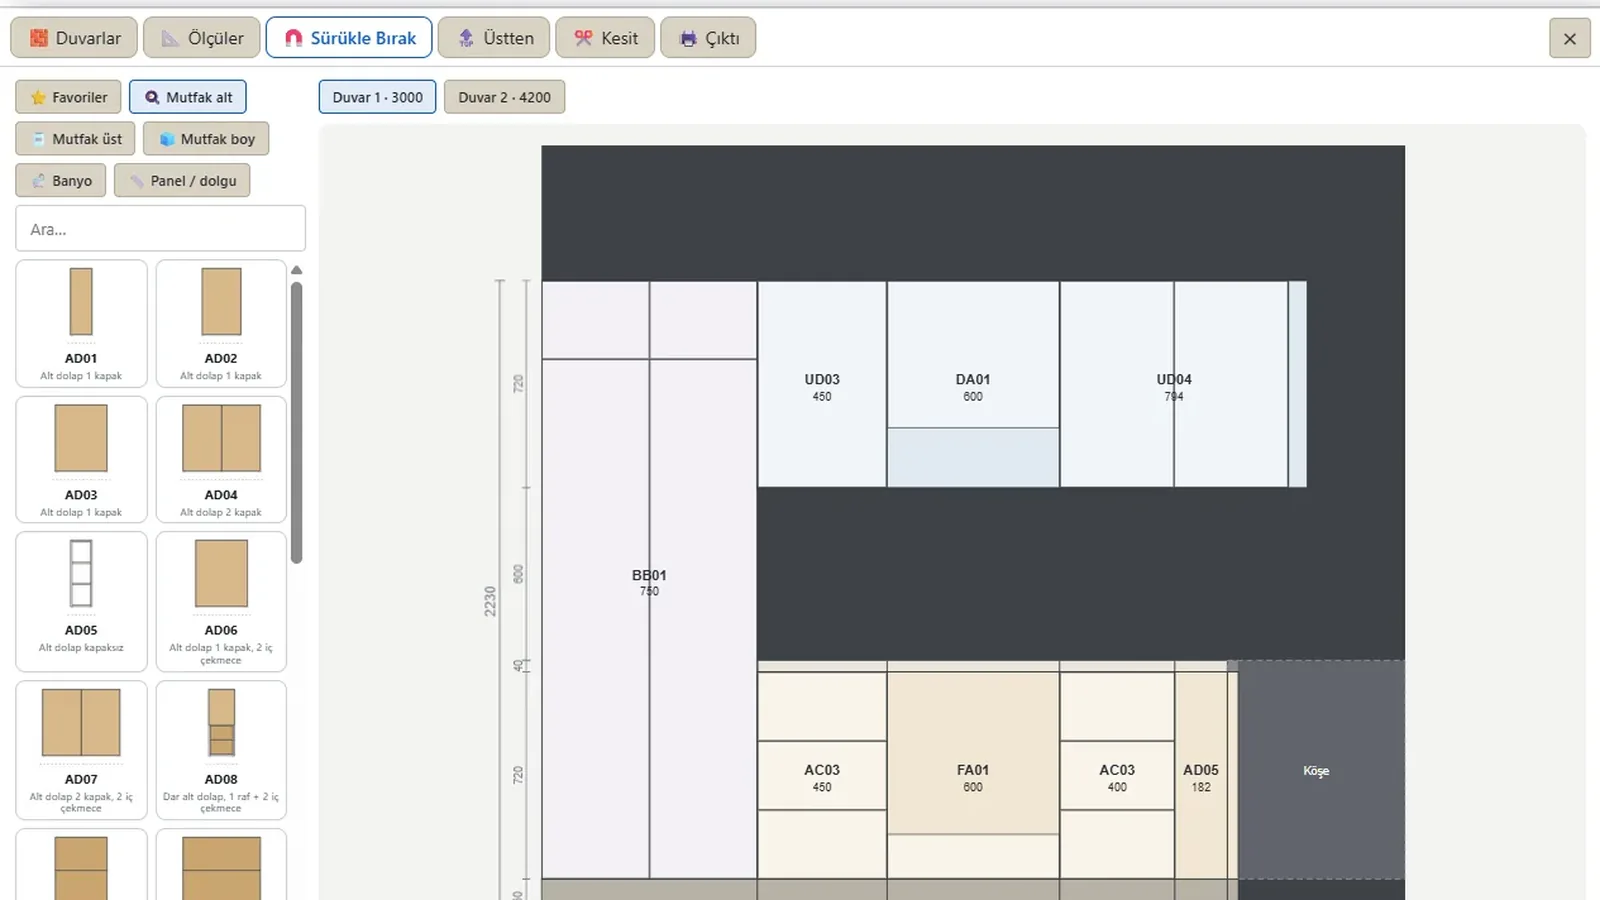
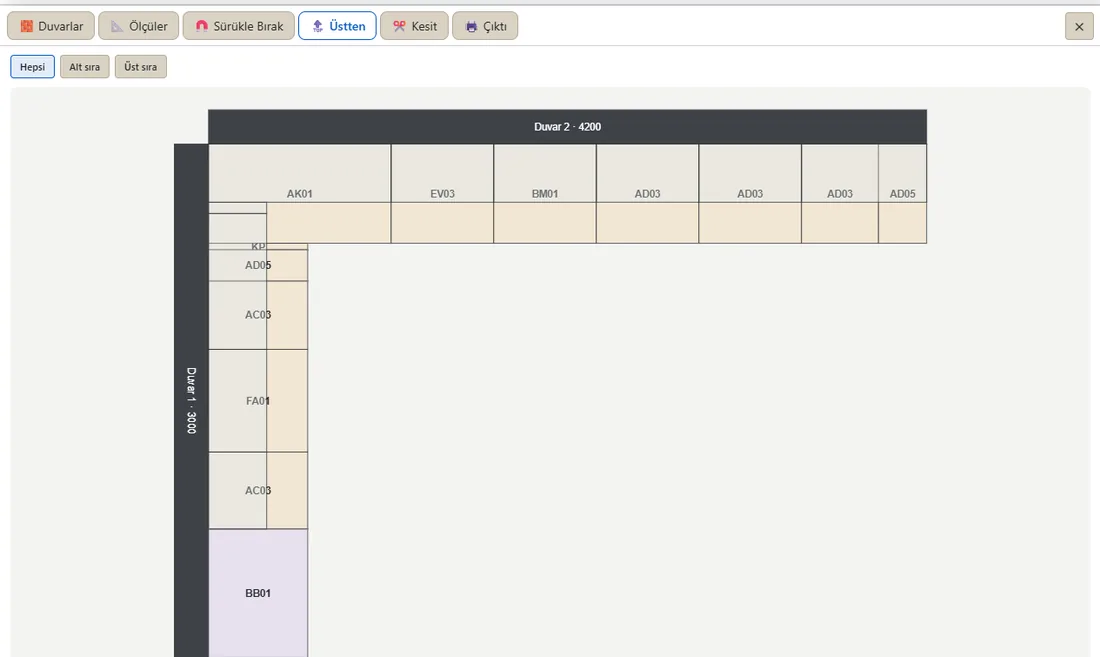
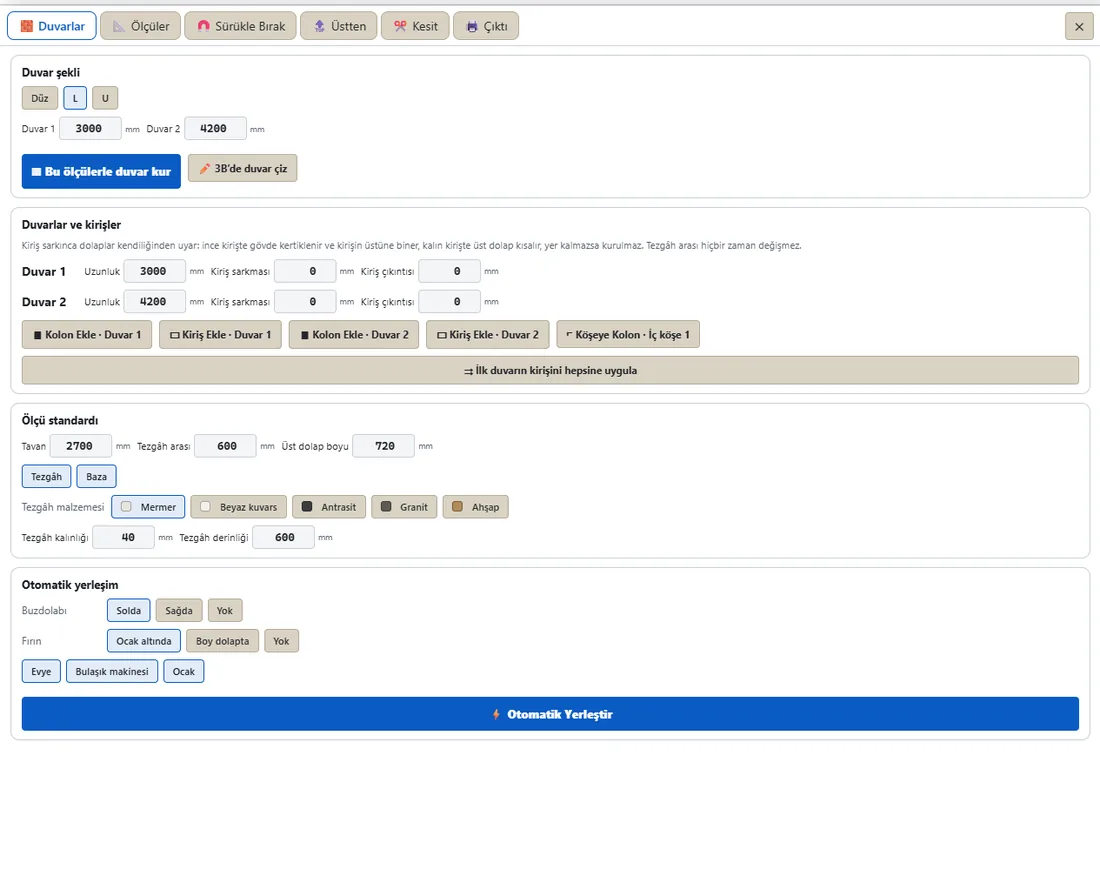
Back at the shop with your sketch, CabinetWizard's kitchen wizard asks five questions in roughly the same order. That means kitchen cabinetry design, planning base, wall and tall cabinets together with the countertop, starts straight from your measurements:
- Shape: straight, L or U; wall lengths and ceiling height. If a corner is out of square, you enter the corner angle in the wizard.
- Columns, beams, doors: add columns, short beams, doors and windows and drag them into place or type millimeters; beams take a drop and a projection.
- Dimensions: pre-filled from your workshop standard; the refrigerator height goes here too.
- Appliances and services: choose sink, cooktop and refrigerator and position each by wall and "center from the left" in millimeters. Water, drain and gas come with the appliance, outlets are suggested and you can add your own.
- Finishing touches: wall cabinets, hood, countertop and material, toe kick and crown; then a summary and warnings.
To give one example value: in our program, the kitchen modules in the library come with an 870 mm under-worktop height (770 mm carcass + 100 mm legs) and 580 mm between worktop and wall unit. If those aren't your shop's numbers, change them in the "Kitchen sizes" section of Workshop Standards. These screens work as a dynamic settings page: change a value and every cabinet that depends on it is recalculated.
Everything you noted on site has a counterpart in the program. No cabinet goes in the area a door sweeps; adding a window removes the wall cabinets in front of it. A cabinet that meets a column is notched in place, and a drawer base in front of a column turns into a door base on its own. With a recess or bump-out in the wall, cabinet fronts stay on one line. The cooktop and refrigerator are placed to a 4–7 m work triangle. In short, the plan follows a smart kitchen logic, smart in the sense that cabinets place themselves around the door swing, the services and the columns. Cabinets rearranging themselves when you later correct a wall length is what dynamic kitchen design means here. See the kitchen design software page for more.
From measurement to cut: why does the same number matter?
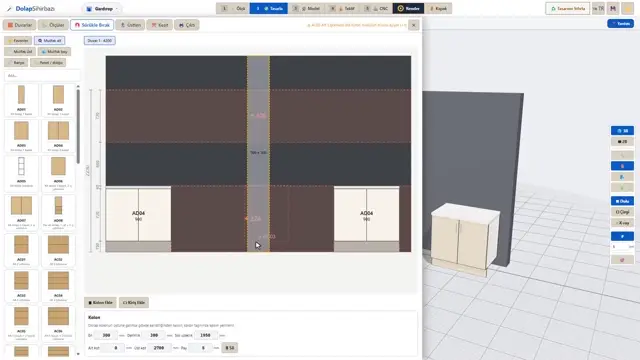
The whole point of measuring is cutting the right parts. A 3000 mm wall on your sketch stays 3000 mm in the program, and every part of every cabinet is derived from it. That's why it counts as parametric cabinet design: each module's width, height and depth is a parametric dimension, a value that recalculates every part from side panel to shelf when it changes. When the wizard finishes, the Drag and Drop screen opens; its drag-and-drop modules are 245 ready-made cabinets you take from the library and drop on the wall.
In the assembly screen you finish the cabinet fronts. Door styles, the 386 slab, framed or patterned door designs, are built to each cabinet's own size; the handle type and finish are picked in the handle window. A finish change, swapping the carcass or door color, carries through to the material line on the cut list.
On the production side the program generates an automatic cut list. Alongside part, quantity, cut size and material, this cut list carries edge banding, the strip glued to a part's visible edge, and grain direction, the way the board's pattern runs on the part. The cutting plan does sheet nesting, arranging parts on the board with as little waste as possible, and draws an automatic sheet layout of it. The last step is export to CNC: NC and DXF files come out, and the CNC/DXF output also opens in your shop's CAM software.
Behind that chain is CabinetWizard's own CNC cutting and machining system: the part machining screen, a tool library and the Machine Profile, with the generated code read back and checked. Error-free CNC cutting starts with an accurate measure and is proven on your machine with a test piece. Never retyping a number is the heart of both fast cabinet design and time-saving cabinet design; as our site says, you go from design to the CNC cutting file in 15 minutes. For a shop doing CNC cabinetmaking, having measuring, design, quoting and cutting in one place makes the program work like a cabinet design studio. Quotes can be priced per module or per linear meter; for the program's own price and current terms see the pricing section. We walked through every wizard step in Enter the Dimensions, CabinetWizard Does the Rest.
Frequently asked questions
How many points should I measure a kitchen wall at?
Measure each wall at three heights at least (base cabinet, countertop and wall cabinet level), and the ceiling at both ends and the middle of each wall. Plan to the shortest reading.
What if the walls aren't square?
Measure the corner angle and write it on the sketch. In CabinetWizard you can enter the corner angle in the wizard; the program builds each wall's cabinets parallel to their own wall.
Where do I get appliance dimensions?
From the appliance's installation sheet. Cut-out sizes and ventilation clearances change from model to model, so don't plan with a generic number.
Can I enter the measurements and show the client right away?
Yes. The 5-day free demo has design, 3D and rendering enabled; cut list, NC, DXF and quotes are in the full version. Try it with the demo.
By Ufuk Şen, developer of CabinetWizard